Delightful Chocolate Covered Ice Cream Bars
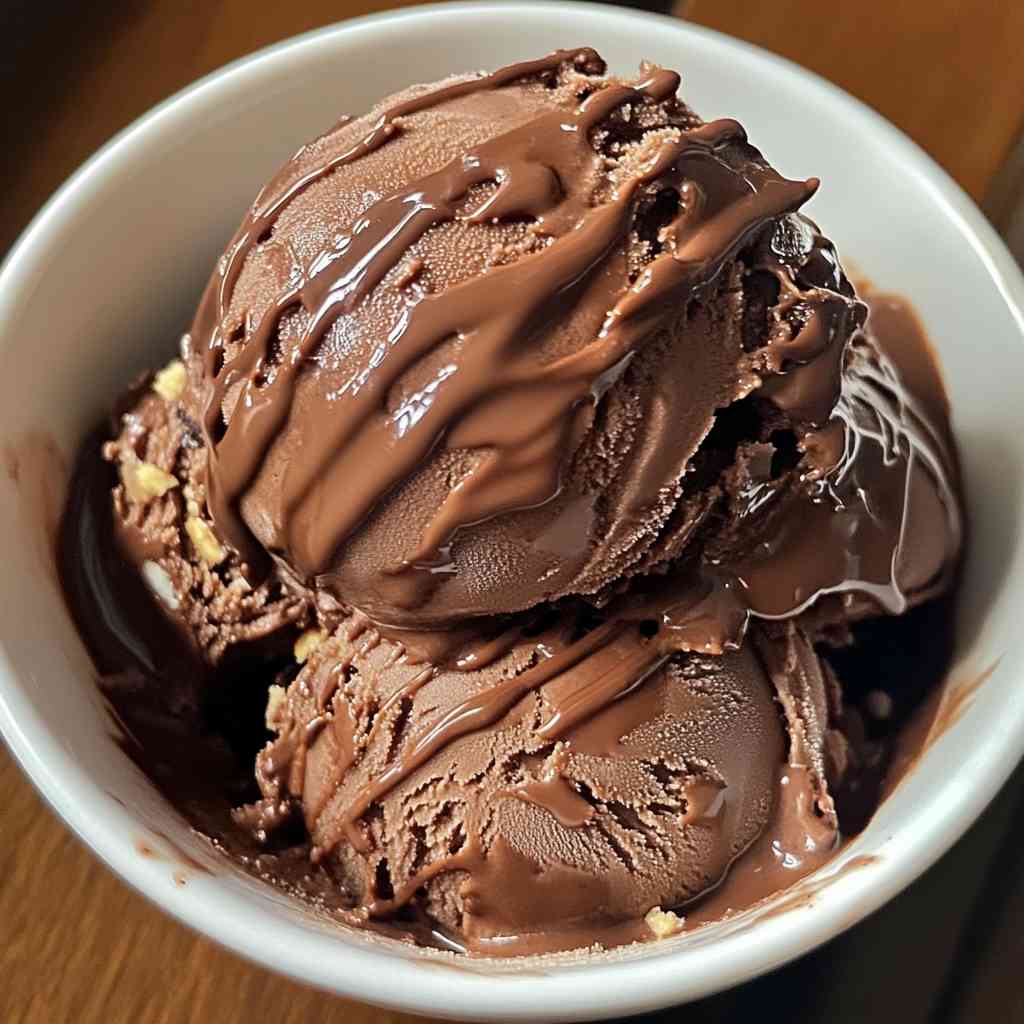
There’s something undeniably magical about biting into a cold, creamy ice cream bar enrobed in a crunchy chocolate shell. Chocolate covered ice cream is the dessert of dreams a nostalgic treat that brings back childhood memories and satisfies sweet cravings on hot summer days.
Whether you’re looking to recreate the iconic ice cream truck experience at home or simply want to enjoy a luxurious dessert made with clean ingredients, this recipe is for you. We’ll walk you through every step of making your own chocolate covered ice cream bars, from preparing the ice cream to perfecting that glossy, snappy chocolate coating.
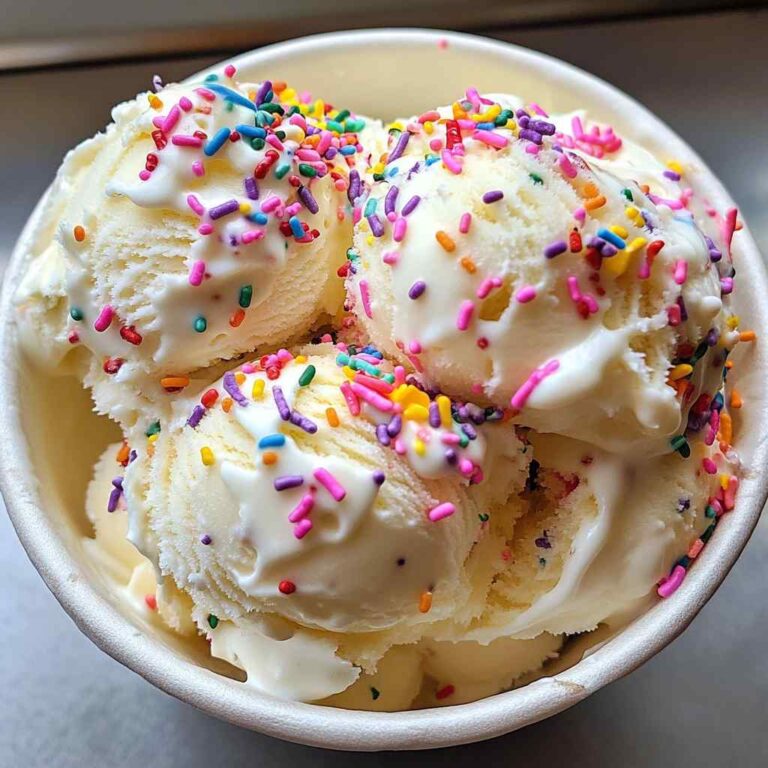
With endless customization options, you can add nuts, caramel, sprinkles, or even fruit swirls to make them uniquely yours. It’s simpler than you think, and far more rewarding than store-bought versions!
❤️ Why You’ll Love This Recipe ❓
Chocolate covered ice cream bars are a classic treat that have delighted taste buds for generations. The contrast of the crisp, chocolatey shell and the smooth, creamy ice cream is simply divine. This recipe offers a simple yet indulgent way to enjoy this beloved dessert at home, without the hassle of a trip to the ice cream shop. Whether you’re looking for a refreshing summertime snack or a decadent treat to satisfy your sweet tooth, these chocolate covered ice cream bars are sure to hit the spot.
What makes this recipe truly special is its accessibility and versatility. With just a few pantry staples and minimal prep time, you can whip up a batch of these delectable bars. Plus, the recipe lends itself well to customization, allowing you to experiment with different ice cream flavors and toppings to suit your personal preferences. And the best part? These bars can be made ahead of time and kept in the freezer, making them the perfect option for last-minute desserts or spontaneous cravings.
🛒 What You Need to Prepare Chocolate Covered Ice Cream Bars ❓
• 2 cups of high-quality dark chocolate, chopped
• 2 tablespoons of coconut oil or vegetable oil
• Sprinkles, crushed nuts, or other desired toppings (optional)
The beauty of this chocolate covered ice cream bar recipe is that most ingredients are pantry or freezer staples. The combination of rich chocolate and creamy ice cream creates a flavor profile that has made this classic treat perennially popular.
📝 How to Make Chocolate Covered Ice Cream Bars Step-by-Step ❓
• Step 2: In a double boiler or a heatproof bowl set over a saucepan of simmering water, melt the chopped chocolate and coconut oil, stirring occasionally until smooth.
• Step 3: Remove the frozen ice cream portions from the freezer. Using two forks or a dipping tool, carefully dip each portion into the melted chocolate, coating it completely. Allow any excess chocolate to drip off before placing the coated bars back on the baking sheet.
• Step 4: If desired, sprinkle the chocolate-covered bars with your choice of toppings, such as sprinkles or crushed nuts, while the chocolate is still wet.
• Step 5: Return the coated bars to the freezer and freeze for at least 2 hours, or until the chocolate is completely set.
⏱️ Timing Overview
• Freezing time: 4 hours
• Total time: 4 hours 15 minutes
Compared to traditional ice cream sundaes or milkshakes, which can take up to 30 minutes to prepare, this chocolate covered ice cream bar recipe saves you significant time while delivering a similarly indulgent experience.
👩🏻⚕️ Nutritional Information
Per serving (based on 8 servings):
• Protein: 4g
• Carbohydrates: 25g
• Fat: 19g
• Fiber: 2g
• Sodium: 75mg
These chocolate covered ice cream bars provide approximately 15% of your daily calcium requirements and 10% of your daily vitamin A needs, making them not just delicious but nutritionally valuable as well.
🔄 Healthier Alternatives for the Recipe
• Lower-carb version: Opt for sugar-free or no-sugar-added ice cream and a high-quality dark chocolate with a lower sugar content.
• Dairy-free adaptation: Use dairy-free ice cream and dairy-free chocolate chips or a dairy-free chocolate coating.
• Added protein: Top the chocolate-covered bars with a sprinkling of chopped nuts or a drizzle of nut butter for an extra protein boost.
• Boost vegetables: Incorporate a sprinkle of finely grated zucchini or carrot into the chocolate coating for a nutritional punch.
These modifications can reduce calories by up to 20% or adapt the recipe for specific dietary needs without compromising the fundamental flavor profile of the chocolate covered ice cream bars.
🍽️ Serving Suggestions
• Pair them with a scoop of fresh berries or a drizzle of honey for a touch of additional sweetness.
• Complement the bars with a cup of hot coffee or a glass of chilled milk for a classic pairing.
• For a festive occasion, arrange the bars on a platter and garnish with edible flowers or a sprinkling of crushed nuts or crumbled cookies.
❌ Common Mistakes to Avoid
• Using low-quality chocolate: Opt for a high-quality dark chocolate with a minimum of 60% cacao content for the best flavor and texture.
• Overcrowding the baking sheet: Leave enough space between the bars to ensure even freezing and coating with the chocolate.
• Skipping the parchment paper: The parchment paper or silicone mat helps prevent the bars from sticking to the baking sheet, making them easier to remove and handle.
🧊 Storing Tips for the Recipe
These chocolate covered ice cream bars retain their quality remarkably well:
• Freezing unbaked: The uncoated ice cream portions can be frozen for up to 2 months. Thaw in the refrigerator before dipping in the chocolate.
• Freezing baked: The fully coated and frozen bars can be stored in an airtight container in the freezer for up to 3 months. Thaw at room temperature for 5-10 minutes before serving.
• Reheating: If the chocolate coating becomes a bit soft, simply place the bars back in the freezer for 10-15 minutes to firm up the chocolate.
❓ FAQs
Can I prepare the chocolate covered ice cream bars in advance?
Absolutely! The uncoated ice cream portions can be frozen for up to 2 months, and the fully coated and frozen bars can be stored in the freezer for up to 3 months. This makes them the perfect make-ahead dessert for any occasion.
Can I use a different type of ice cream?
Yes, you can use any flavor of ice cream you prefer, from classic vanilla to indulgent chocolate or even fruity sorbet. The chocolate coating will complement a wide variety of ice cream flavors, so feel free to experiment to find your favorite combination.
Are there any dairy-free or vegan options for this recipe?
Yes, you can easily adapt this recipe to accommodate dairy-free or vegan dietary needs. Simply use dairy-free ice cream and a high-quality dark chocolate that is free from dairy products. There are many delicious dairy-free and vegan ice cream and chocolate options available at most grocery stores.
What should I do if the chocolate won’t set properly?
If you’re having trouble with the chocolate coating not setting properly, make sure the ice cream is thoroughly frozen before dipping and that the chocolate mixture is at the right temperature. If the chocolate is too warm, it may not set correctly. You can also try adding a small amount of additional coconut oil or vegetable oil to the chocolate to help it set better.
Can I add any additional toppings or mix-ins to the recipe?
Absolutely! These chocolate covered ice cream bars are highly versatile and can be customized in countless ways. Try adding a sprinkle of chopped nuts, a drizzle of caramel or fudge sauce, or even a coating of crushed cookies or candy pieces. The possibilities are endless, so feel free to get creative and make these bars your own.
Conclusion
These chocolate covered ice cream bars represent the perfect balance of convenience, flavor, and presentation. Whether you’re serving them as a refreshing summertime treat or an indulgent dessert, they’re sure to impress with their rich chocolate coating and creamy ice cream interior. The versatility of this recipe allows for countless variations to suit your taste preferences and dietary needs.
With simple ingredients and straightforward preparation, these chocolate covered ice cream bars demonstrate that sophisticated flavors don’t require complicated techniques – just quality ingredients and a little bit of care in the assembly. So why not treat yourself (or your loved ones) to this delightful frozen treat today?
Print
Delightful Chocolate Covered Ice Cream Bars
- Total Time: 4 hours 15 minutes
Ingredients
• 1 quart of your favorite ice cream
• 2 cups of high-quality dark chocolate, chopped
• 2 tablespoons of coconut oil or vegetable oil
• Sprinkles, crushed nuts, or other desired toppings (optional)
Instructions
• Step 1: Line a baking sheet with parchment paper or a silicone mat. Scoop the ice cream into 1/2 cup portions and place them on the prepared baking sheet. Freeze for at least 2 hours, or until the ice cream is firm.
• Step 2: In a double boiler or a heatproof bowl set over a saucepan of simmering water, melt the chopped chocolate and coconut oil, stirring occasionally until smooth.
• Step 3: Remove the frozen ice cream portions from the freezer. Using two forks or a dipping tool, carefully dip each portion into the melted chocolate, coating it completely. Allow any excess chocolate to drip off before placing the coated bars back on the baking sheet.
• Step 4: If desired, sprinkle the chocolate-covered bars with your choice of toppings, such as sprinkles or crushed nuts, while the chocolate is still wet.
• Step 5: Return the coated bars to the freezer and freeze for at least 2 hours, or until the chocolate is completely set.
- Prep Time: 15 minutes
- Freezing time: 4 hours
- Category: Dessert
- Cuisine: Americans
Keywords: Delightful Chocolate Covered Ice Cream Bars