Making bouncy balls at home is one of the most entertaining science experiments you can do with simple household ingredients. These homemade bouncy balls actually work they bounce, roll, and provide hours of entertainment for kids and adults alike. The best part is that you get to customize the colors and watch the magic of chemistry happen right before your eyes as liquid ingredients transform into a solid, bouncy sphere.
This project takes about 15 minutes from start to finish and uses ingredients you likely already have in your pantry or can easily find at any grocery store.
Whether you’re looking for a rainy day activity, a science fair project, or just want to create something fun with your children, homemade bouncy balls deliver on both entertainment and educational value.
💚 Why You’ll Love Making Your Own Bouncy Balls ?
Creating bouncy balls from scratch is incredibly satisfying because you witness the transformation process firsthand. The moment when your liquid mixture turns into a firm, bouncy ball feels like pure magic. This activity teaches important scientific concepts like polymerization and cross-linking in a hands-on way that kids actually remember. Unlike store-bought bouncy balls, these are completely customizable—you control the colors, sizes, and even glitter content.
This craft is also budget-friendly, costing just pennies per ball. You can make multiple bouncy balls in different colors during one crafting session, creating a whole collection. The process is safe when supervised properly, and cleanup is minimal. Best of all, the bouncy balls you create actually bounce well and last for weeks, making this a worthwhile project rather than just a quick craft that gets tossed aside.
🧪 Ingredients
- 2 tablespoons warm water
- 1/2 teaspoon borax powder
- 1 tablespoon white school glue
- 2 tablespoons cornstarch
- Food coloring (any color you prefer)
- Small mixing bowl
- Measuring spoons
- Stirring stick or spoon
👐 How to Create Perfect Bouncy Balls Step by Step ?
Step 1: Prepare Your Borax Solution
Start by measuring 2 tablespoons of warm water into a small bowl or cup. The water should be warm but not boiling hot—warm tap water works perfectly. Add 1/2 teaspoon of borax powder to the warm water. Stir the mixture with a spoon until the borax completely dissolves. This creates your activator solution that will transform the glue into a bouncy ball. Set this mixture aside while you prepare the glue mixture.
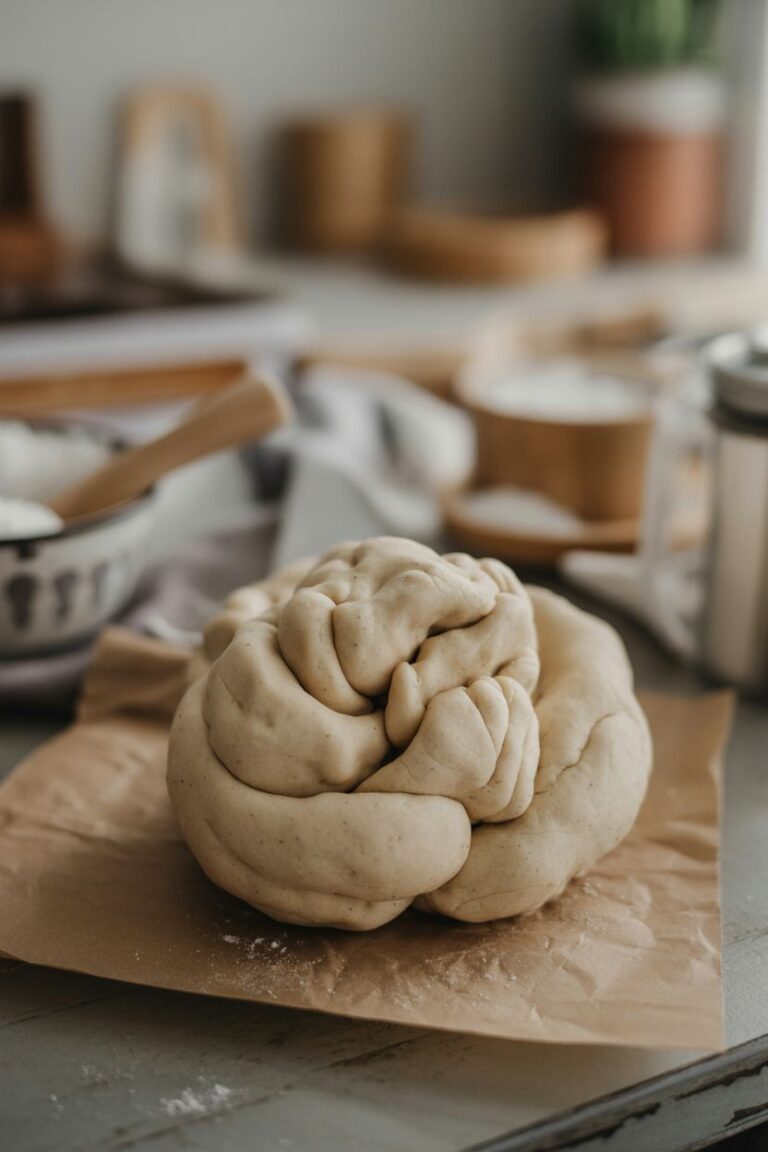
Step 2: Mix the Glue Base
In a separate small bowl, pour 1 tablespoon of white school glue. Regular Elmer’s glue or any basic white craft glue works beautifully for this project. Add 2 tablespoons of cornstarch to the glue. The cornstarch helps create the firm, bouncy texture that makes these balls work so well. Stir these two ingredients together thoroughly until they’re well combined, though the mixture will be quite thick and sticky.
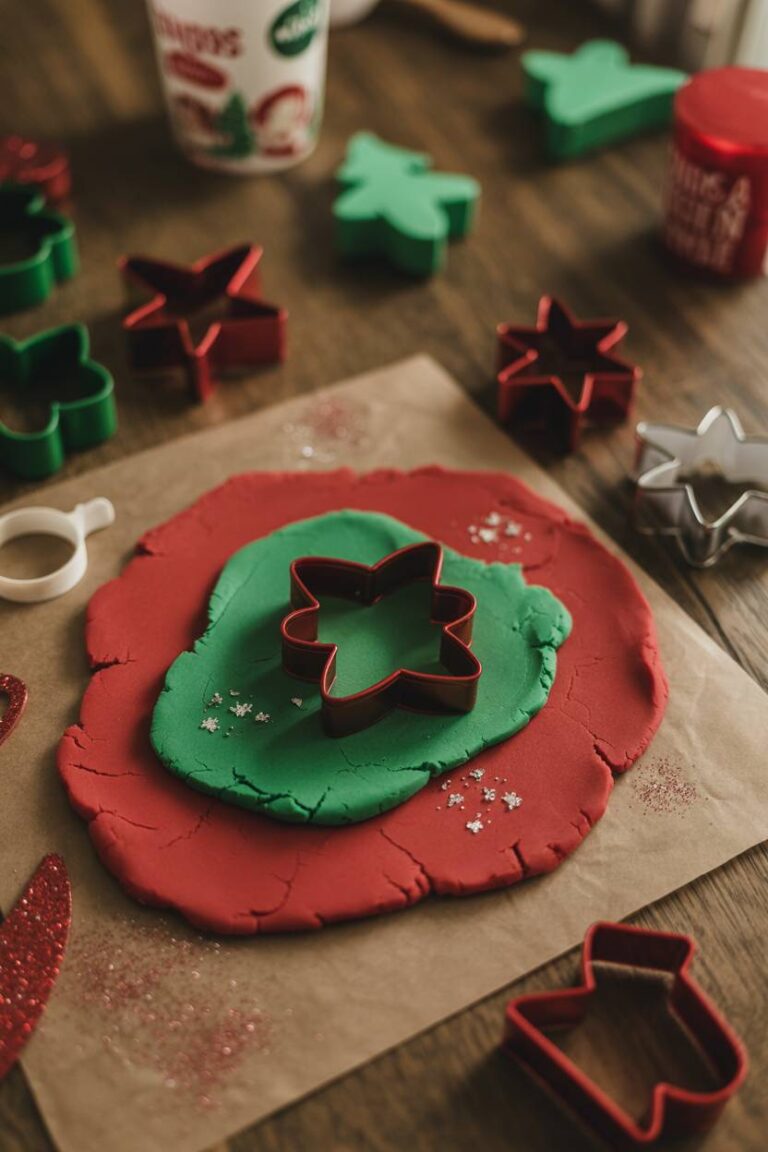
Step 3: Add Your Color
This is where the fun begins. Add 3-5 drops of food coloring to your glue and cornstarch mixture. Start with fewer drops and add more if you want deeper, more vibrant colors. Gel food coloring works better than liquid for creating bright, intense colors. Stir the food coloring into the mixture until the color is evenly distributed throughout. If you want sparkly bouncy balls, add a pinch of glitter at this stage.
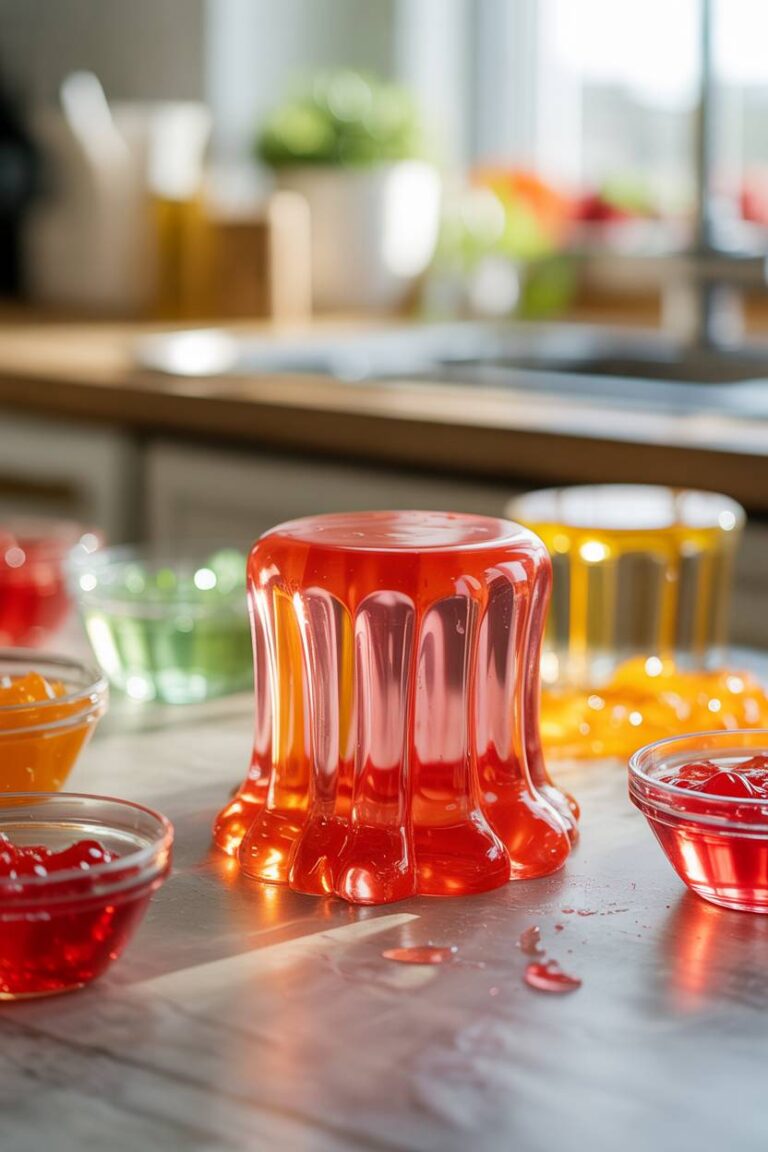
Step 4: Combine the Mixtures
Pour your borax solution into the bowl containing the colored glue mixture. Immediately, you’ll notice the mixture starting to come together and solidify. This is the polymerization process happening right before your eyes. Stir vigorously for about 30 seconds as the mixture transforms from a liquid into a solid mass that pulls away from the sides of the bowl.
Step 5: Knead and Shape
Once the mixture has solidified enough to handle, remove it from the bowl with your hands. The mixture will be wet and sticky at first, which is completely normal. Knead it with your hands for 3-5 minutes, continuously working the material. As you knead, the ball will become less sticky and more firm. If the mixture seems too wet, place it on a paper towel briefly to absorb excess moisture, then continue kneading.
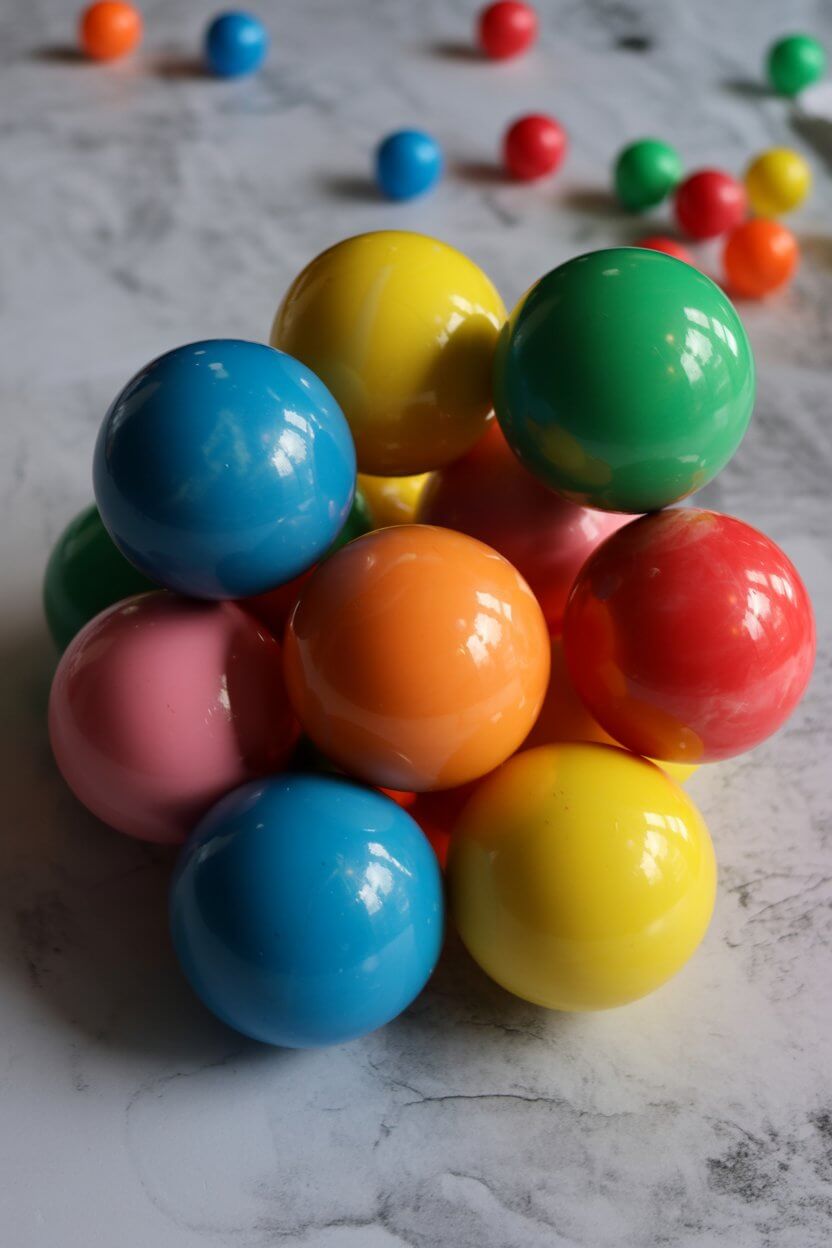
Step 6: Form Your Bouncy Ball
After kneading thoroughly, roll the mixture between your palms to create a smooth, round ball shape. Apply steady pressure as you roll to eliminate any cracks or seams on the surface. The smoother your ball, the better it will bounce. Let your finished bouncy ball rest for about 5 minutes to firm up completely before testing it out.
🎨 Creative Variations to Try
Create multicolored bouncy balls by dividing your glue mixture into several portions and adding different colors to each, then combining them partially for a marbled effect. Make glow-in-the-dark bouncy balls using glow-in-the-dark paint mixed with the glue. Try making super tiny bouncy balls using half the recipe for miniature versions. Experiment with adding essential oils for scented bouncy balls. Create galaxy-themed balls by mixing purple, blue, and pink with lots of silver glitter.
📝 Important Tips and Tricks
Always supervise children when making bouncy balls, especially during the borax handling stage. Borax should not be ingested, so wash hands thoroughly after crafting. If your bouncy ball cracks or crumbles, you likely didn’t knead it long enough—knead for a full 5 minutes. Store bouncy balls in sealed plastic bags or containers to prevent them from drying out. Bouncy balls work best on hard surfaces like tile, wood, or concrete rather than carpet.
The temperature of your water matters. Very hot water makes the reaction happen too quickly, while cold water slows it down too much. Room temperature or warm water creates the perfect consistency. If your ball feels too sticky even after kneading, let it sit on a paper towel for a few minutes to dry slightly. Don’t expect these to bounce as high as commercial super balls, but they will bounce impressively well.
🏀 How to Use Your Homemade Bouncy Balls
Test your bouncy balls on different surfaces to see which gives the best bounce. Hard floors provide maximum bounce height. Create bouncy ball races by seeing whose ball bounces highest. Use them for juggling practice since they’re lightweight and easy to catch. Play catch with younger children who are learning hand-eye coordination. Stack multiple bouncy balls and see how they interact when you bounce them together.
💡 Troubleshooting Common Issues
- Ball won’t bounce: You likely didn’t knead the mixture long enough or used too much water. Knead for a full 5 minutes next time.
- Too sticky: Continue kneading and allow some moisture to evaporate. Pat with paper towels if needed.
- Ball crumbles: The mixture was too dry. Add a few drops of water and knead again.
- Mixture won’t solidify: Your borax solution might be too diluted. Make sure borax fully dissolved in the water before adding.
- Colors look muddy: Use gel food coloring instead of liquid, and don’t overmix different colors together.
✨ Making the Best Bouncy Balls Possible
Quality ingredients produce better results. Fresh glue bounces better than old, dried-out glue. Store your borax in an airtight container to keep it effective.
Work on a clean, flat surface to prevent dirt from getting into your mixture. Let finished balls rest overnight for maximum firmness and bounce. Remake balls every few weeks as they will eventually lose their bounce and dry out completely.
For science fair projects, document each step with photos and explain the polymerization process. Compare different recipes side by side to see which creates the bounciest balls. Test variables like the amount of cornstarch or borax to understand how each ingredient affects the final product.
⏱️ Time Required
Prep Time: 5 minutes
Making Time: 10 minutes
Total Time: 15 minutes
❓ Frequently Asked Questions
Is borax safe for kids?
Borax is safe when used properly under adult supervision. Don’t ingest it and wash hands after use. Children should not handle borax directly.
Can I use liquid starch instead of borax?
Yes, liquid starch can replace the borax solution. Use 2 tablespoons of liquid starch in place of the borax and water mixture.
How long do homemade bouncy balls last?
Properly stored bouncy balls last 2-3 weeks before they start to dry out and lose their bounce. Store in sealed bags.
Why isn’t my ball perfectly round?
Keep rolling between your palms with steady pressure. Reshape while still slightly soft if needed.
Can adults do this craft too?
Absolutely! This is a fun stress-relief activity and great for understanding basic chemistry concepts.
🎉 Final Thoughts
Making bouncy balls at home combines science, creativity, and play into one fantastic activity. With just a few simple ingredients and 15 minutes of time, you create entertaining toys that actually work. Perfect for birthday parties, classroom activities, or weekend fun with family.
Try making your first bouncy ball today and discover the joy of DIY science projects that bounce.