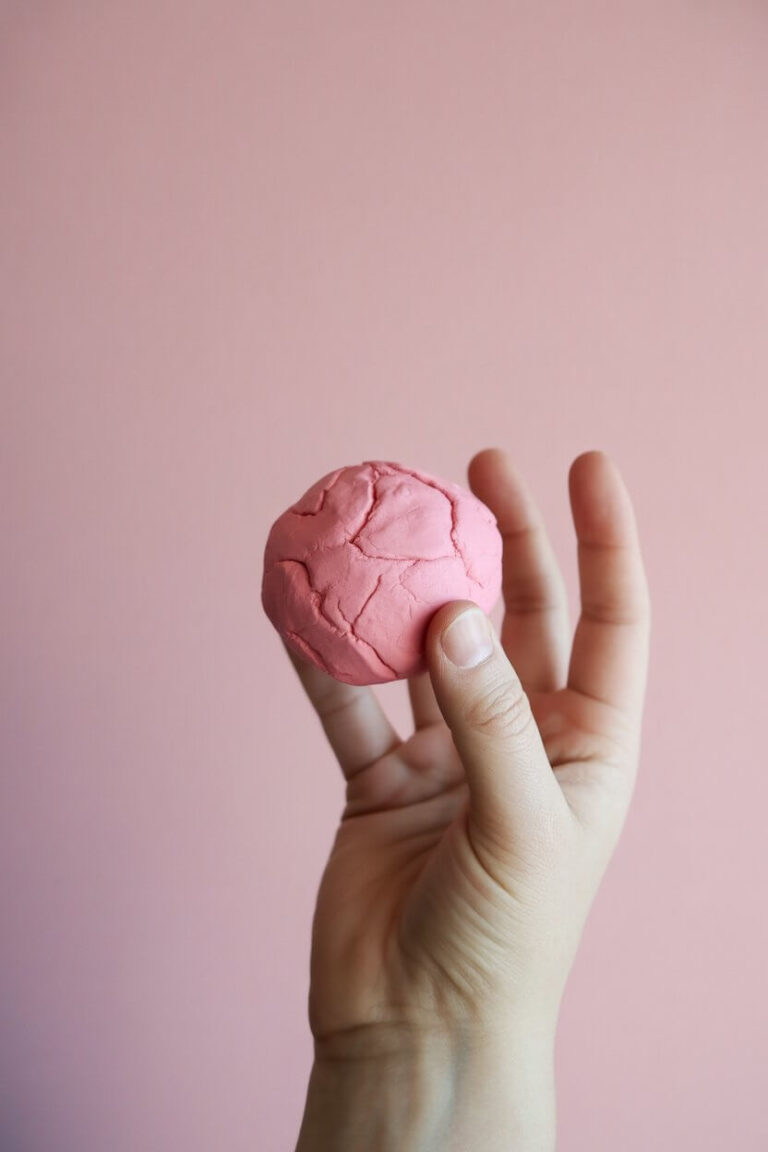
Unleash your inner artist and embark on a captivating journey of creating adorable play dough animals! Whether you’re a seasoned crafter or a beginner, this step-by-step guide will help you craft the most authentic and perfect play dough creations. Get ready to unleash your creativity and bring your imaginative visions to life!
Crafting play dough animals is not just a fun activity; it’s an opportunity to tap into your creative potential and bond with loved ones. Imagine the delight on a child’s face as they bring their favorite animal to life, or the satisfaction of seeing your own unique creation taking shape. This recipe is a versatile and endlessly customizable way to explore the world of play dough and sculpting.
In this comprehensive guide, we’ll dive into the essential techniques, materials, and pro tips to ensure your play dough animal creations are nothing short of extraordinary. So, let’s get started on this exciting, hands-on adventure!
Why You’ll Want to Make This Recipe Tonight ?
Crafting play dough animals is not just a fun activity; it’s a way to unleash your creativity and connect with your inner child. This recipe offers a unique and satisfying experience that goes beyond the typical play dough play. With our step-by-step instructions, you’ll be able to create lifelike and detailed animal figures that can be displayed, gifted, or simply enjoyed as part of imaginative playtime.
What sets this recipe apart is the attention to detail and the focus on achieving an authentic, professional-looking result. By following our precise instructions and utilizing key ingredients, you’ll be able to craft play dough animals with a level of realism and texture that will impress both children and adults alike. Get ready to amaze your family and friends with your newfound sculpting skills!
Ingredients
• 1 cup salt
• 2 tablespoons cream of tartar
• 2 tablespoons vegetable oil
• 1 1/2 cups water
• Food coloring (optional)
The key ingredients in this play dough recipe are the all-purpose flour, salt, and cream of tartar. The flour provides the base for the dough, giving it a smooth and pliable texture. The salt acts as a natural preservative, helping to extend the dough’s shelf life. The cream of tartar, on the other hand, is a crucial ingredient that helps the play dough retain its bright, vibrant colors and prevents it from becoming too sticky or dry.
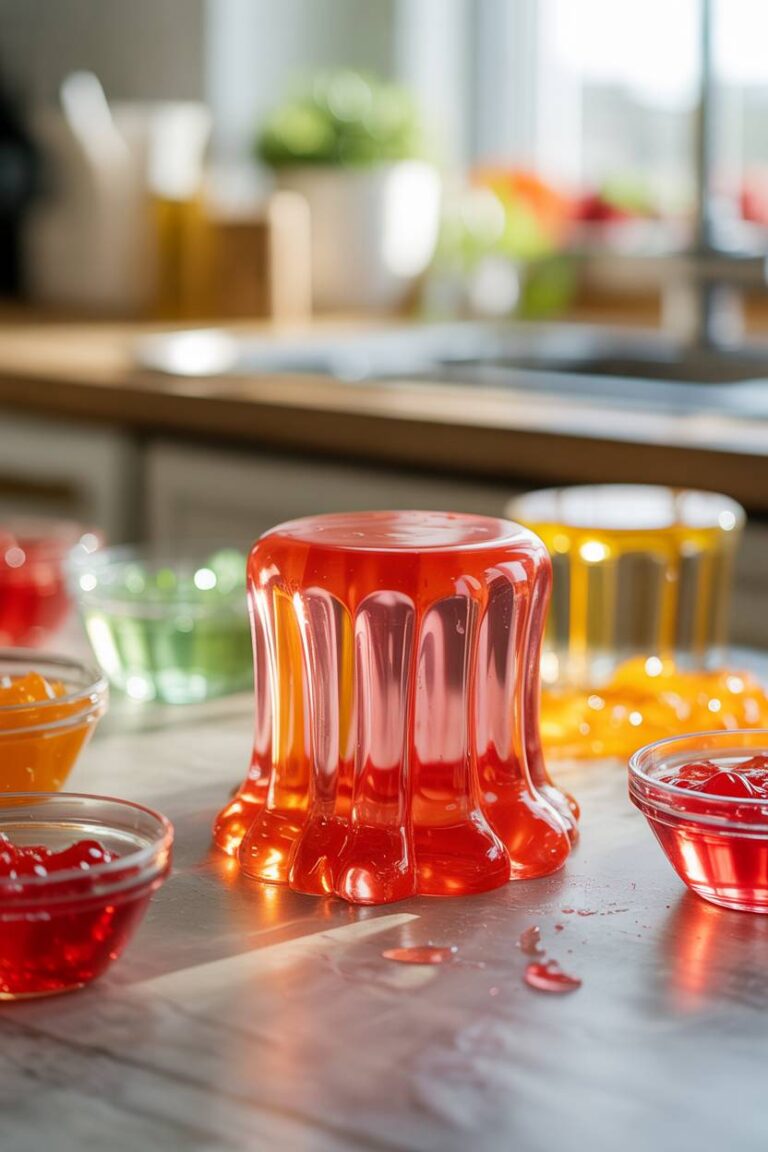
The vegetable oil and water work together to bring the dough to the perfect consistency, ensuring it’s easy to manipulate and shape. You can also add a few drops of food coloring to create a wide range of hues, allowing you to bring your animal creations to life with stunning, vibrant colors.
Instructions
- Gather the Ingredients: Measure out all the necessary ingredients and have them ready to go before you start mixing.
- Mix the Dry Ingredients: In a large mixing bowl, combine the all-purpose flour, salt, and cream of tartar. Whisk the dry ingredients together to ensure they are evenly distributed.
- Add the Wet Ingredients: Pour the vegetable oil and water into the bowl with the dry ingredients. Gradually mix the wet and dry ingredients together until a smooth, pliable dough forms.
- Knead the Dough: Once the dough has come together, transfer it to a clean, lightly floured surface and knead it for 2-3 minutes. This step helps to develop the gluten in the flour, resulting in a smoother, more cohesive dough.
- Add Color (Optional): If you’d like to create play dough animals in specific colors, divide the dough into smaller portions and knead in a few drops of food coloring until the desired shade is achieved.
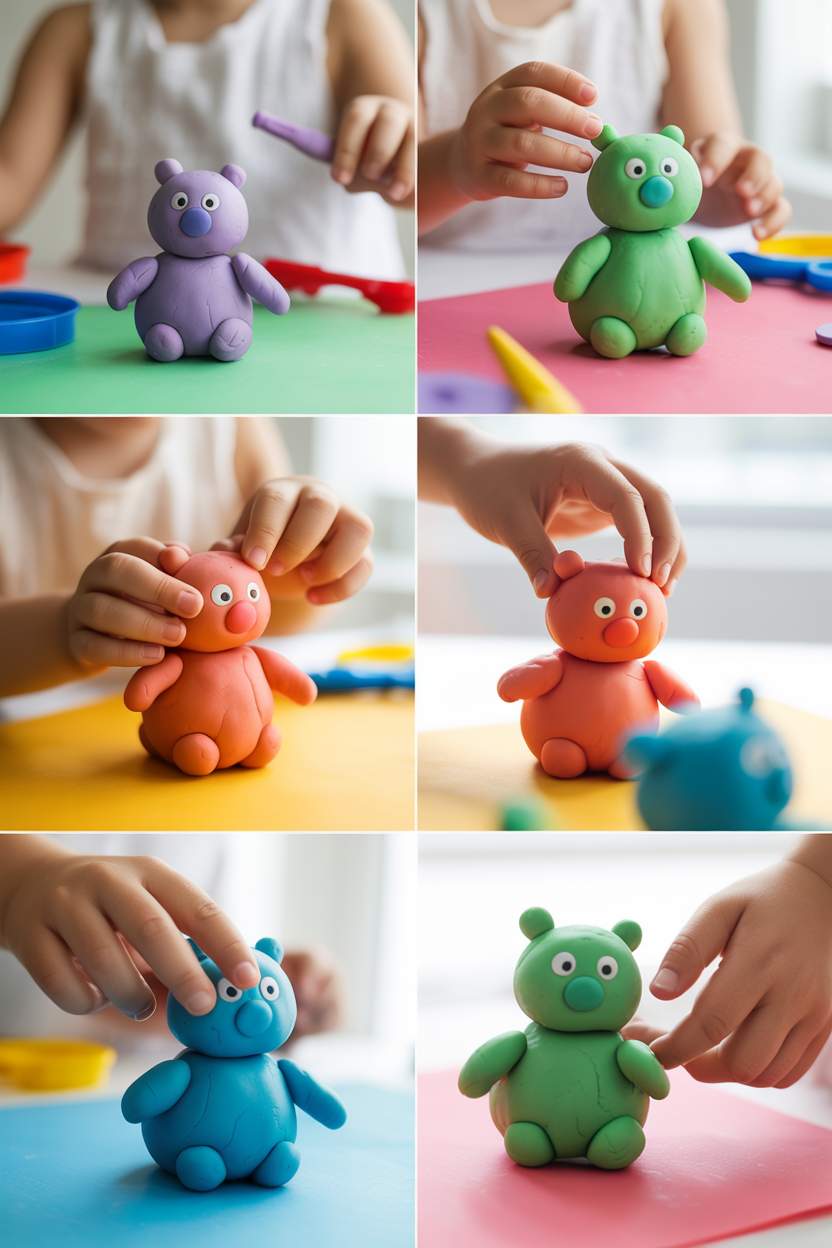
- Begin Sculpting: Start by shaping the basic form of your animal, such as the body, head, and limbs. Use your hands to gently pinch, roll, and shape the dough into the desired shapes and sizes.
- Add Details: Once you’ve established the overall form, begin adding smaller details to your play dough animal, such as eyes, ears, tails, and any other distinctive features. Use tools like toothpicks, skewers, or even your fingertips to carefully sculpt these details.
- Refine and Finalize: Continuously check your work and make any necessary adjustments to ensure your play dough animal looks exactly as you envision. Smooth out any rough edges, refine the shapes, and add any final touches to bring your creation to life.
- Display or Play: Once your play dough animal is complete, you can choose to display it proudly or incorporate it into imaginative playtime. Be sure to store your creation in an airtight container to keep it fresh and ready for future use.
Timing Overview
• Sculpting time: 30-60 minutes (depending on complexity)
• Total Time: 45-75 minutes
Nutritional Information
Nutritional information is an estimate per serving, based on 8 servings.
• Protein: 2 g
• Sodium: 2380 mg
• Carbohydrates: 20 g
• Fat: 1 g
• Fiber: 1 g
How to Tailor This Recipe for Your Family ?
• To Make it Vegan: Omit the cream of tartar and use a plant-based oil, such as coconut or olive oil, instead of the vegetable oil.
• To Add a Scented Touch: Incorporate a few drops of essential oils, such as lavender or peppermint, to create a soothing, aromatic play dough experience.
How to Serve This Dish in Style ?
• Imaginative Play: Encourage children to engage in imaginative play by setting up a play dough animal-themed scene, complete with small props and accessories. This can spark their creativity and foster storytelling skills.
• Party Favors: Package individual play dough animals in small, decorative boxes or bags to serve as unique and memorable party favors for birthday celebrations or other special events.
Pro Tips for a Perfect Outcome Every Time
• Tip 2 – Keep it Hydrated: If the dough starts to feel dry or crumbly during the sculpting process, mist it lightly with water or add a small amount of vegetable oil and knead it in gently.
• Tip 3 – Work in Sections: When creating intricate play dough animals, work on one section at a time, allowing the dough to set before adding additional details or components. This will help maintain the integrity of your design.
How to Safely Store and Enjoy Later ?
• Freezing: If you want to preserve your creations for longer, you can wrap them individually in plastic wrap and store them in the freezer for up to 3 months.
• Rehydrating: If your play dough animals become a bit dry over time, you can rehydrate them by misting them lightly with water and kneading the moisture back into the dough.
FAQs
Can I use other types of flour besides all-purpose?
While all-purpose flour is the recommended choice for this recipe, you can experiment with other flours, such as whole wheat or gluten-free blends. Keep in mind that the texture and consistency of the dough may vary, and you may need to adjust the liquid ratios accordingly. Start with small batches to find the right flour-to-liquid ratio for your preferred results.
How can I achieve more detailed and realistic-looking play dough animals?
To create more intricate and lifelike play dough animals, pay close attention to the proportions and shapes of the different body parts. Use tools like toothpicks, skewers, or even small sculpting tools to add finer details, such as facial features, fur or scales, and other distinguishing characteristics. Patience and practice are key to mastering the art of realistic play dough sculpting.
Can I bake the play dough animals to make them permanent?
Yes, you can bake your play dough animals to make them more durable and long-lasting. Preheat your oven to 200°F (95°C) and place the sculpted animals on a parchment-lined baking sheet. Bake for 1-2 hours, or until the dough is completely hardened. Keep in mind that baking may slightly alter the color and texture of the play dough, so you may want to experiment with a small test piece first.
How can I store my play dough animals to prevent them from drying out?
To prevent your play dough animals from drying out, be sure to store them in an airtight container or ziplock bag. You can also place a damp paper towel or a small piece of cotton fabric in the container to help maintain the optimal moisture level. Avoid exposing the creations to direct sunlight or heat, as this can cause them to dry out more quickly.
Can I use this recipe to create other types of play dough crafts?
Absolutely! This versatile play dough recipe can be used to create a wide variety of crafts, from simple shapes and figures to more intricate designs like jewelry, ornaments, or even miniature food items. The key is to have fun and let your creativity shine through. Experiment with different techniques, tools, and design ideas to see what you can create.
Before You Head Back to the Kitchen
Now that you’ve mastered the art of crafting play dough animals, the possibilities are endless! Unleash your inner artist and explore the boundless world of sculpting. Whether you choose to create a whimsical menagerie of jungle creatures or a delightful display of farm animals, your play dough creations are sure to bring joy and delight to all who encounter them.
Remember, the true magic of this experience lies in the journey of self-expression and the shared moments of creativity. Gather your loved ones, fire up your imagination, and embark on a playful adventure that will leave a lasting impression. Happy sculpting!
Happy crafting, and don’t forget to share your masterpieces with us on social media using the hashtag #PlayDoughAnimalCreations. We can’t wait to see what you create!

Create Authentic, Perfect Play Dough Animals Step by Step
⏱️ Timing Overview
🥘 Ingredients
📝 Instructions
- Measure out all the necessary ingredients and have them ready to go before you start mixing.
- In a large mixing bowl, combine the all-purpose flour, salt, and cream of tartar. Whisk the dry ingredients together to ensure they are evenly distributed.
- Pour the vegetable oil and water into the bowl with the dry ingredients. Gradually mix the wet and dry ingredients together until a smooth, pliable dough forms.
- Once the dough has come together, transfer it to a clean, lightly floured surface and knead it for 2-3 minutes. This step helps to develop the gluten in the flour, resulting in a smoother, more cohesive dough.
- If you'd like to create play dough animals in specific colors, divide the dough into smaller portions and knead in a few drops of food coloring until the desired shade is achieved.
- Start by shaping the basic form of your animal, such as the body, head, and limbs. Use your hands to gently pinch, roll, and shape the dough into the desired shapes and sizes.
- Once you've established the overall form, begin adding smaller details to your play dough animal, such as eyes, ears, tails, and any other distinctive features. Use tools like toothpicks, skewers, or even your fingertips to carefully sculpt these details.
- Continuously check your work and make any necessary adjustments to ensure your play dough animal looks exactly as you envision. Smooth out any rough edges, refine the shapes, and add any final touches to bring your creation to life.
- Once your play dough animal is complete, you can choose to display it proudly or incorporate it into imaginative playtime. Be sure to store your creation in an airtight container to keep it fresh and ready for future use.