🎨 Are you tired of play dough recipes that call for obscure ingredients like cream of tartar? Well, look no further! This simple, no-fuss play dough recipe is the perfect solution for creating endless hours of imaginative fun, without the hassle. With just a few basic pantry staples, you can whip up a batch of soft, pliable play dough that’s sure to delight kids and adults alike.
Whether you’re looking to keep little hands busy on a rainy day or want to unleash your own inner artist, this play dough recipe is a true crowd-pleaser. Get ready to dive into a world of creativity and sensory exploration, all without the need for specialty ingredients. Let’s get started on this delightful journey!
Why This Recipe Stands Out From the Rest?
What sets this play dough recipe apart is its simplicity and versatility. While many recipes call for cream of tartar, a somewhat obscure ingredient, this version relies on readily available pantry staples. The result is a smooth, soft play dough that’s a breeze to make and endlessly customizable.
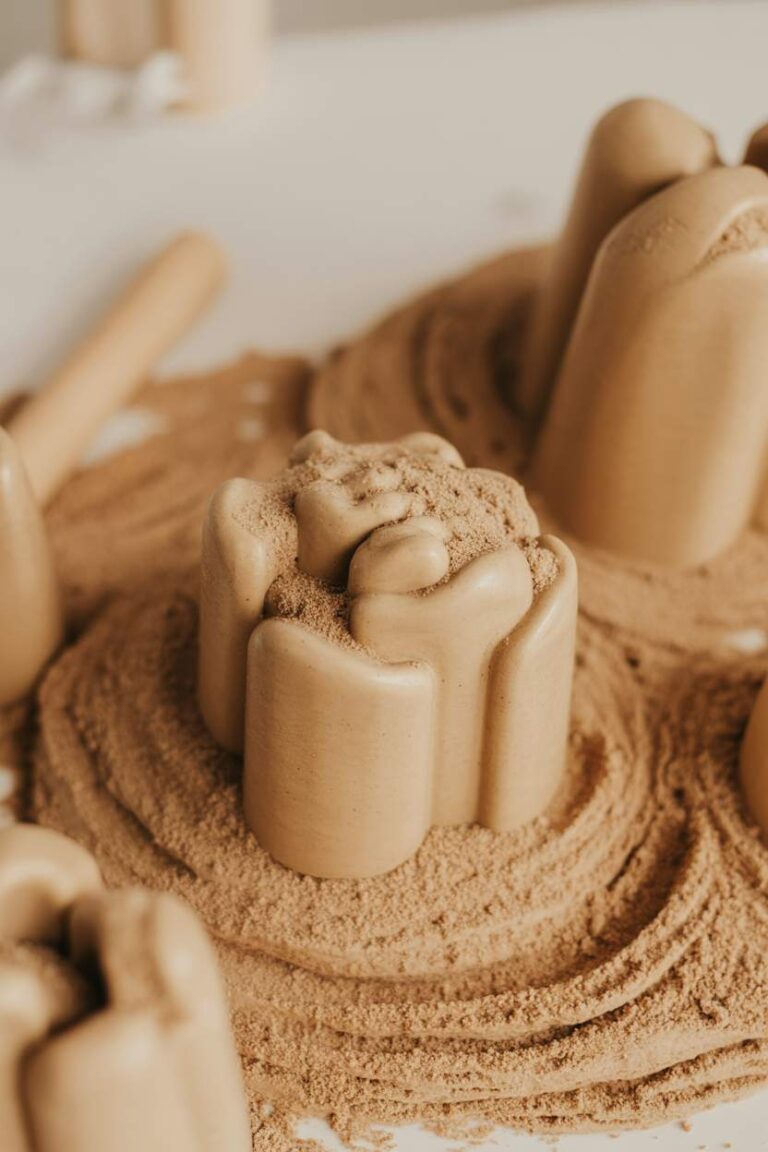
But the real magic lies in the texture. This play dough has a perfect balance of pliability and structure, making it a dream to mold and shape. Whether you’re sculpting intricate designs or simply squishing it between your fingers, the velvety-smooth consistency is sure to delight. Plus, the recipe is endlessly adaptable, allowing you to experiment with different colors, scents, and even glitter for a truly unique sensory experience.
Ingredients
• 1 cup (240ml) water
• 1 tablespoon (15ml) vegetable oil
• 1 tablespoon (15ml) salt
• Food coloring (optional)
• Essential oils or extracts (optional)
The key ingredients in this play dough recipe are the all-purpose flour and water. The flour provides the structure and foundation, while the water helps to bind everything together. The addition of vegetable oil gives the play dough a soft, pliable texture, and the salt helps to preserve it.
For those who want to take their play dough to the next level, you can easily incorporate food coloring or essential oils/extracts. The food coloring allows you to create vibrant, eye-catching hues, while the oils and extracts add a delightful scent to the mix. Just be sure to start with small amounts and adjust to your desired intensity.
Instructions
- Mix the Dry Ingredients: In a large bowl, combine the all-purpose flour and salt. Whisk together until well incorporated.
- Add the Wet Ingredients: Pour in the water and vegetable oil, and stir until a shaggy dough begins to form. If you’re adding food coloring or essential oils, now is the time to do so – a few drops at a time, mixing well after each addition.
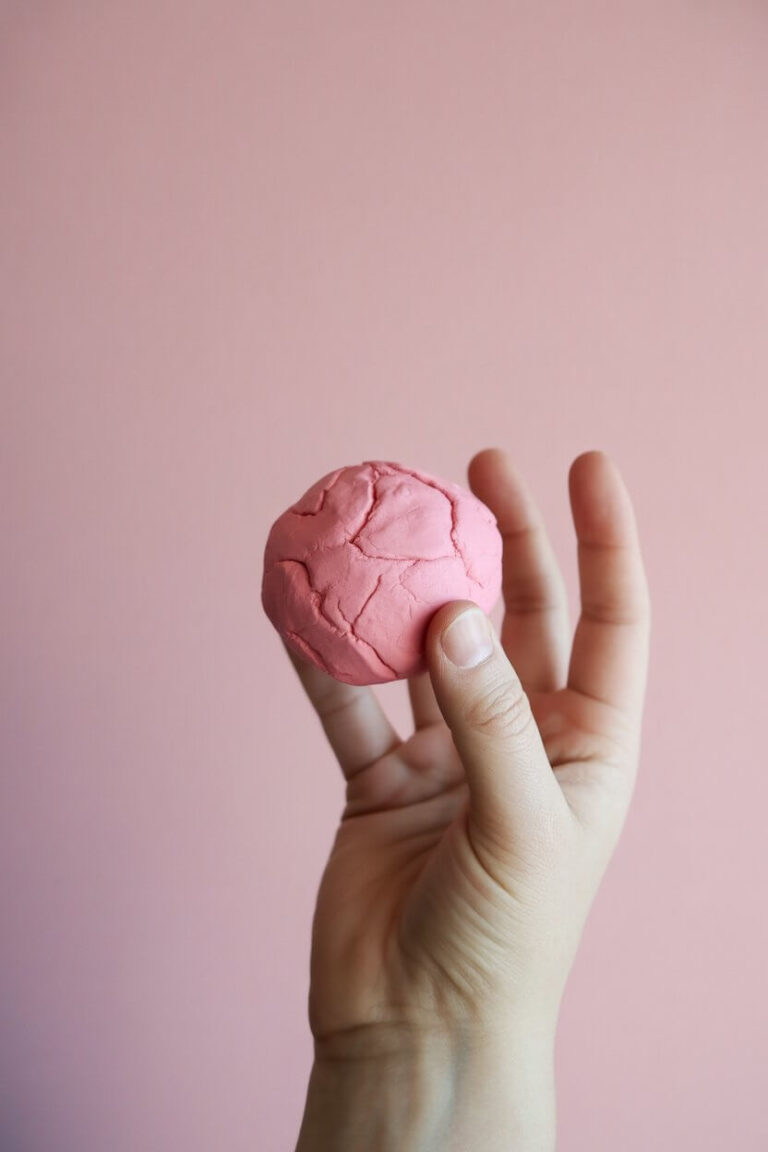
- Knead the Dough: Turn the dough out onto a clean, lightly floured surface and knead for about 5 minutes, or until the dough becomes smooth and pliable. Be gentle during this process to avoid overworking the gluten in the flour, which can result in a tough texture.
- Condition the Dough: Once the dough is well-kneaded, cover it with a damp cloth or paper towel and let it rest for 10-15 minutes. This allows the flour to fully hydrate, resulting in an even smoother and more consistent texture.
- Store the Play Dough: After the resting period, your play dough is ready to use! Store it in an airtight container or zip-top bag to keep it fresh. When not in use, be sure to cover the dough with the damp cloth or paper towel to prevent it from drying out.
Timing Overview
• Kneading time: 5 minutes
• Resting time: 10-15 minutes
• Total Time: 25-30 minutes
Nutritional Information
Nutritional information is an estimate per serving, based on approximately 8 servings.
• Protein: 2 g
• Sodium: 590 mg
• Carbohydrates: 16 g
• Fat: 2 g
• Fiber: 1 g
Endless Variations to Explore
• To Make it Vegan: Use a plant-based oil, such as coconut or olive oil, instead of the vegetable oil. Avoid any dairy-based ingredients like butter or milk.
• To Add a Scented Touch: Incorporate a few drops of your favorite essential oils or extracts, such as lavender, vanilla, or peppermint, to create a truly sensory experience.
How to Make This Dish Dinner-Party Ready?
• Garnish Suggestions: Provide a selection of small, safe objects like buttons, googly eyes, or dried pasta pieces for guests to add to their play dough creations.
• Beverage Pairing: Offer a refreshing lemonade or fruit-infused water to complement the creative, hands-on activity.
How to Keep This Recipe from Going Wrong?
• Mistake 2 – Not Resting the Dough: Allowing the dough to rest for 10-15 minutes after kneading is crucial for allowing the flour to fully hydrate, ensuring a smooth, pliable consistency.
• Mistake 3 – Not Storing Properly: To prevent the play dough from drying out, be sure to store it in an airtight container or bag, and keep a damp cloth or paper towel in contact with the dough when not in use.
From Oven to Fridge: What to Do Next
• Freezing: You can also freeze the play dough for longer-term storage. Wrap it tightly in plastic wrap or place it in a freezer-safe bag, and it will keep for up to 3 months. Thaw in the refrigerator before use.
• Reheating: If the play dough becomes dry or stiff, you can revive it by kneading in a few drops of water until it regains its desired consistency.
FAQs
Can I use self-rising flour instead of all-purpose?
While you can substitute self-rising flour for the all-purpose flour in this recipe, it’s not recommended. Self-rising flour contains baking powder and salt, which can alter the texture and properties of the play dough. It’s best to stick with regular all-purpose flour for the most reliable and consistent results.
Do I have to use vegetable oil, or can I substitute something else?
The vegetable oil in this recipe helps to create a soft, pliable texture in the play dough. You can substitute other neutral-flavored oils, such as canola or sunflower oil, if you prefer. Avoid using olive oil, as its strong flavor may be undesirable. If you’re looking for a healthier option, you can try using melted coconut oil or even a small amount of melted butter.
How can I make the play dough more vibrant in color?
To achieve more vibrant, bold colors in your play dough, start by using gel-based food coloring instead of liquid food coloring. Gel colors tend to be more concentrated, allowing you to use less and still get the desired hue. Additionally, you can try mixing two or more colors together to create unique shades. Just be sure to incorporate the coloring thoroughly during the kneading process.
Can I add glitter or other decorative elements to the play dough?
Absolutely! The beauty of this play dough recipe is its versatility. You can easily incorporate glitter, sequins, or other small, safe decorative elements to make the play dough even more engaging and visually appealing. Just be mindful of the age of the children using the play dough, as small pieces could pose a choking hazard for younger kids.
How can I make the play dough last longer?
To extend the lifespan of your homemade play dough, be sure to store it properly in an airtight container or bag. When not in use, keep the dough covered with a damp cloth or paper towel to prevent it from drying out. Additionally, you can add a small amount of essential oil, such as lavender or tea tree oil, to the dough, as these have natural preservative properties.
A Tasty Conclusion to Your Cooking Journey
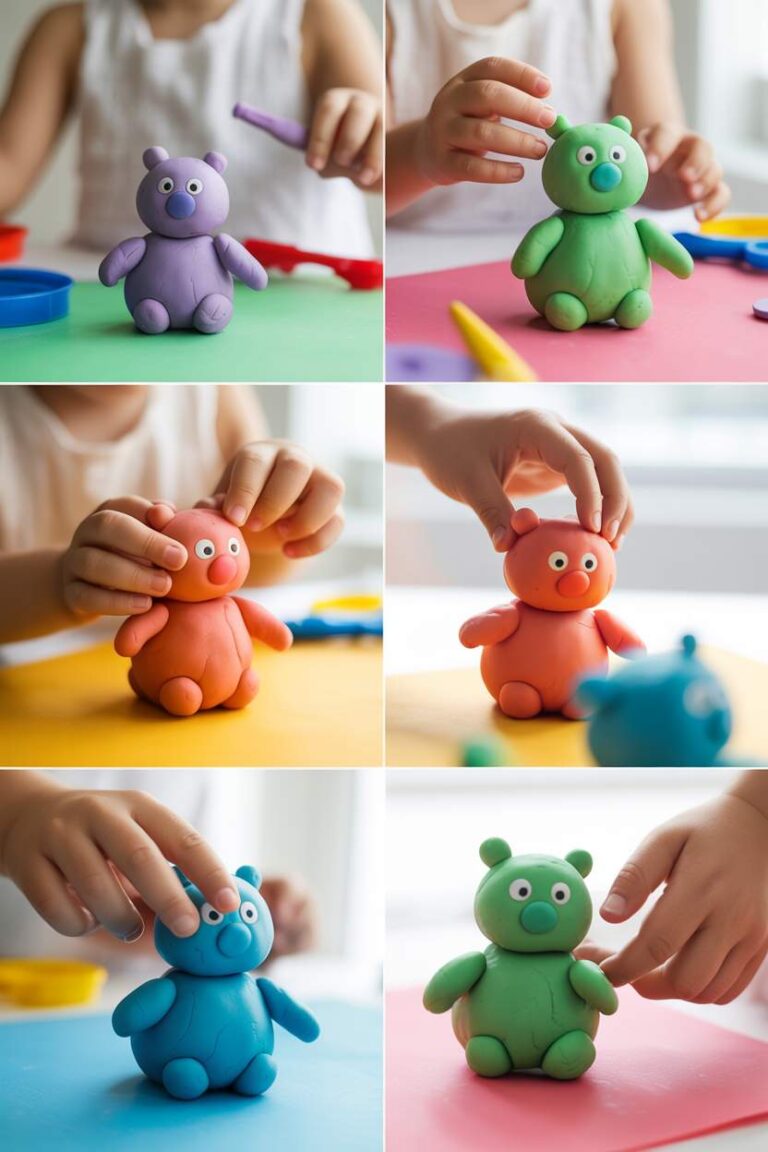
Congratulations, you’ve mastered the art of creating a truly crowd-pleasing play dough recipe! With this simple, no-fuss formula, you can now unleash your (or your little one’s) creativity and imagination. Whether you’re sculpting intricate designs, building enchanting landscapes, or simply squishing the soft, pliable dough between your fingers, this play dough is sure to provide endless hours of sensory delight.
So gather your family, friends, or students, and embark on a creative adventure with this versatile play dough. Who knows, you might just uncover the next Michelangelo or Picasso in the process! Happy playing, and don’t forget to share your masterpieces with the world.

Crowd-Pleasing Play Dough Recipe: No Cream of Tartar Needed
⏱️ Timing Overview
🥘 Ingredients
📝 Instructions
- In a large bowl, combine the all-purpose flour and salt. Whisk together until well incorporated.
- Pour in the water and vegetable oil, and stir until a shaggy dough begins to form. If you're adding food coloring or essential oils, now is the time to do so – a few drops at a time, mixing well after each addition.
- Turn the dough out onto a clean, lightly floured surface and knead for about 5 minutes, or until the dough becomes smooth and pliable. Be gentle during this process to avoid overworking the gluten in the flour, which can result in a tough texture.
- Once the dough is well-kneaded, cover it with a damp cloth or paper towel and let it rest for 10-15 minutes. This allows the flour to fully hydrate, resulting in an even smoother and more consistent texture.
- After the resting period, your play dough is ready to use! Store it in an airtight container or zip-top bag to keep it fresh. When not in use, be sure to cover the dough with the damp cloth or paper towel to prevent it from drying out.