Get ready to dive into the world of slime-making with this captivating recipe that combines the perfect blend of borax and glue. Slime has become a beloved pastime for kids and adults alike, offering endless opportunities for creativity, sensory exploration, and pure, unadulterated fun. Whether you’re a seasoned slime enthusiast or a curious newcomer, this 30-minute, hearty slime recipe is sure to delight and inspire.
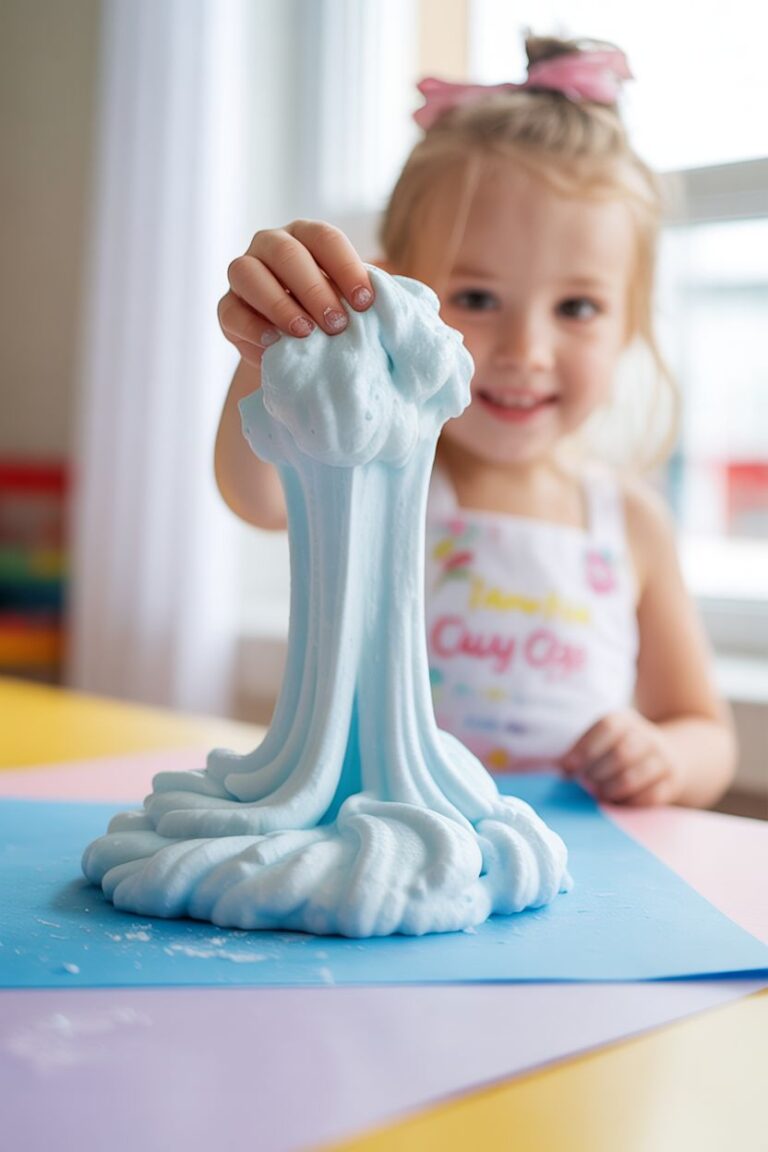
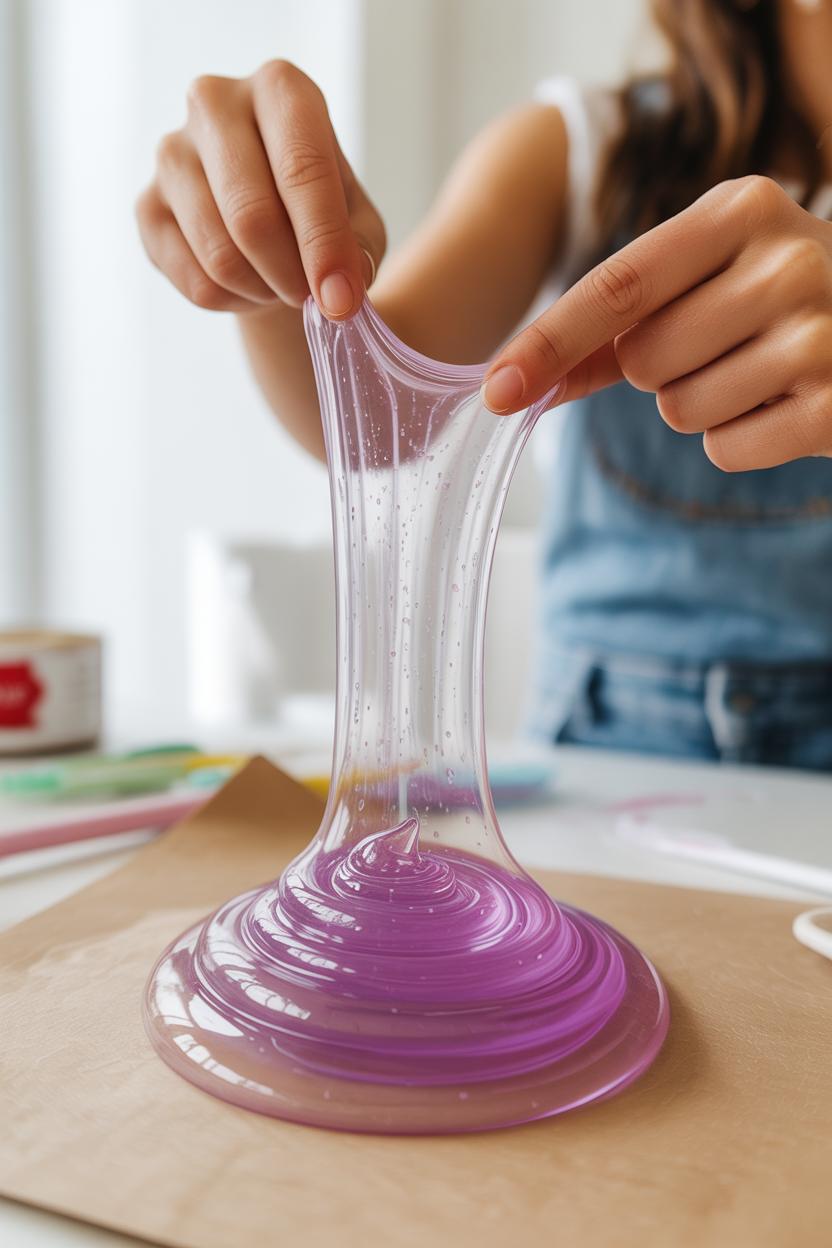
Imagine the pure joy of squishing, stretching, and molding a vibrant, ooey-gooey concoction between your fingers. The satisfying sensation of watching it slowly ooze through your hands, transforming and shifting with each gentle movement. This is the magic of slime, and this recipe is the key to unlocking it.
But this isn’t just any ordinary slime recipe. No, this is a recipe that has been meticulously crafted to deliver the perfect balance of texture, elasticity, and long-lasting play value. With carefully selected ingredients and a foolproof method, you’ll be whipping up batch after batch of slime that will captivate both young and old. So, let’s dive in and uncover the secrets to creating the most irresistible slime you’ve ever experienced!
💫 Why You’ll Want to Make This Recipe Tonight ?
This slime recipe is a true game-changer, and here’s why you’ll want to try it tonight:
Firstly, the texture is absolutely mesmerizing. The perfect blend of borax and glue creates a slime that is both stretchy and smooth, with a satisfying, almost therapeutic quality to it. It’s the kind of slime that you just can’t stop playing with, as it seems to transform and respond to your every touch.
Secondly, the recipe is incredibly easy to follow, making it accessible to slime-makers of all skill levels. Whether you’re a seasoned pro or a first-time slimer, you’ll be able to whip up batch after batch of this captivating concoction with ease. Plus, the ingredients are readily available, so you can stock up and keep the slime-making fun going all year round.
Ingredients
• 1/2 cup (120 ml) liquid starch (or liquid laundry detergent)
• 1 tablespoon (15 ml) borax powder
• 1/2 cup (120 ml) warm water
• Food coloring (optional)
• Glitter or other mix-ins (optional)
The key ingredients in this recipe are the white school glue and the borax powder. The glue provides the base for the slime, giving it its signature stretch and elasticity. The borax, on the other hand, is the activator that causes the glue to thicken and transform into the desired slime consistency.
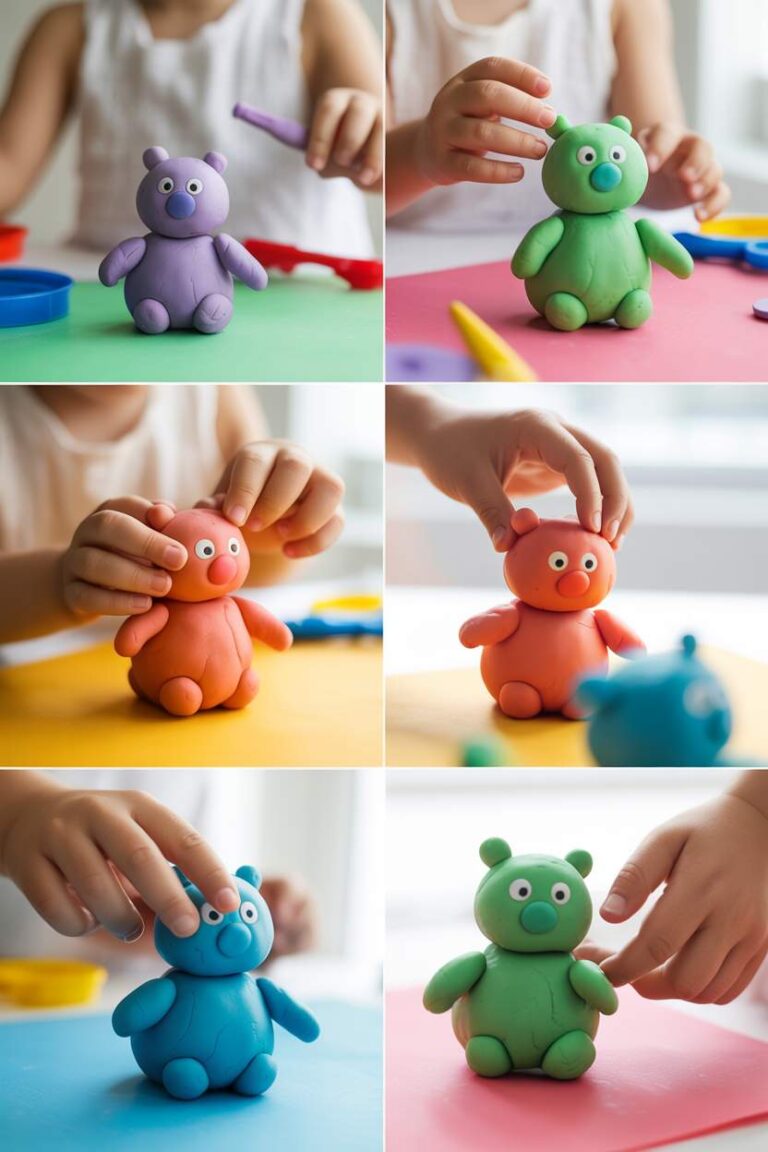
While the food coloring and mix-ins are completely optional, they can add a whole new level of fun and creativity to your slime-making experience. Experiment with different color combinations, glitters, and even small trinkets to create truly one-of-a-kind slime creations.
Instructions
- Gather the Ingredients: Measure out all of the necessary ingredients and have them ready to go. This will ensure a smooth and efficient slime-making process.
- Make the Borax Solution: In a small bowl, mix the borax powder with the warm water until the borax has completely dissolved. Set this aside for now.
- Mix the Glue: In a separate large bowl, pour in the white school glue. If you’re using food coloring, add it to the glue and mix well until the color is evenly distributed.
- Add the Borax Solution: Slowly pour the borax solution into the glue mixture, stirring constantly with a spoon or spatula. The mixture will begin to thicken and form into a slime-like consistency.
- Knead the Slime: Once the slime has formed, use your hands to knead and manipulate it. This will help to fully incorporate the ingredients and create the desired texture.
- Customize with Mix-Ins: If you’re adding any glitter, sequins, or other mix-ins, now is the time to do so. Gently fold them into the slime until they are evenly distributed.
- Store and Enjoy: Once your slime is complete, store it in an airtight container or plastic bag. When ready to play, simply take it out and enjoy the satisfying, stretchy, and oozy experience!
⏱️ Timing Overview
• Cook time: 5 minutes
• Chill time: 0 minutes
• Baking time: 0 minutes
• Freezing time: 0 minutes
• Marinating time: 0 minutes
• Cooling time: 0 minutes
• Blend time: 5 minutes
• Total Time: 15 minutes
🍽️ Nutritional Information
Nutritional information is an estimate per serving, based on 6 servings.
• Protein: 0 g
• Sodium: 20 mg
• Carbohydrates: 10 g
• Fat: 0 g
• Fiber: 0 g
🌈 Fun Alternatives to Try
• To Make it Scented: Mix in a few drops of your favorite essential oil or fragrance oil to create a delightfully aromatic slime. Lavender, vanilla, and citrus are all great options.
• For a Fluffy Slime: Substitute the liquid starch with a small amount of shaving cream or whipped cream. This will result in a soft, cloud-like slime texture.
🍽️ How to Serve This Dish Like a Pro ?
• Slime Accessories: Provide small cups, spoons, or other tools for your guests to scoop, stretch, and play with the slime. This enhances the overall experience and encourages hands-on exploration.
• Slime Station: Set up a dedicated slime-making station with all the necessary ingredients and materials. This allows your guests to customize and create their own unique slime creations.
⚠️ Key Pitfalls to Watch Out For
• Mistake 2 – Overmixing the Slime: While kneading the slime is important, be careful not to overdo it. Excessive mixing can cause the slime to become too sticky or lose its elasticity.
• Mistake 3 – Forgetting to Store the Slime Properly: Slime needs to be stored in an airtight container to prevent it from drying out. Be sure to seal it up tight when not in use.
🧊 From Fridge to Freezer: Storage Made Easy
• Freezing: Slime can be frozen for longer-term storage. Simply place it in a freezer-safe bag or container and store it in the freezer for up to 3 months.
• Reheating: To reactivate frozen slime, simply remove it from the freezer and allow it to thaw at room temperature. Once it’s softened, knead it with your hands to restore its original texture.
❓ FAQs
What if my slime is too sticky or not stretchy enough?
If your slime is too sticky, you likely added too much glue or not enough borax. Try adding a small amount of borax solution, a little at a time, until you achieve the desired texture. If the slime is not stretchy enough, you may need to add more glue to the mixture.
Can I use a different type of glue besides white school glue?
While white school glue is the recommended glue for this recipe, you can experiment with other types of glue, such as clear glue or even glue sticks. However, keep in mind that the texture and consistency of the slime may vary depending on the glue used.
How do I clean up after making slime?
Slime can be a bit messy, but cleaning up is easy! Simply use warm, soapy water to wash your hands and any surfaces that may have come in contact with the slime. Avoid using cold water, as it can cause the slime to harden. Once the cleanup is complete, you can store your slime in an airtight container for future play.
Can I add scents or other mix-ins to the slime?
Absolutely! The great thing about this slime recipe is that it’s highly customizable. You can add a few drops of essential oils or food extracts to create a delightful scent. You can also incorporate glitter, small toys, or other mix-ins to add even more visual interest and texture to your slime.
Is this slime recipe safe for children to play with?
Yes, this slime recipe is completely non-toxic and safe for children to play with, as long as they are supervised. The ingredients used are all common household items that are not harmful if ingested in small amounts. However, it’s always a good idea to monitor young children when they’re playing with slime to ensure they don’t put it in their mouths.
🎉 Before You Take That First Bite
Now that you’ve mastered the art of creating this captivating slime, it’s time to dive in and experience the pure joy of squishing, stretching, and molding this ooey-gooey creation. Whether you’re making it with your kids, hosting a slime-making party, or indulging in a solo session of stress-relieving slime play, this recipe is sure to bring a smile to your face and a sense of wonder to your heart.
So, what are you waiting for? Gather your ingredients, put on your creative cap, and get ready to unleash the magic of slime-making. Who knows, you might just discover a new favorite pastime that you’ll keep coming back to time and time again.
Happy sliming!

30-Minute, Hearty Slime Recipe with Borax and Glue
⏱️ Timing Overview
🥘 Ingredients
📝 Instructions
- Measure out all of the necessary ingredients and have them ready to go. This will ensure a smooth and efficient slime-making process.
- In a small bowl, mix the borax powder with the warm water until the borax has completely dissolved. Set this aside for now.
- In a separate large bowl, pour in the white school glue. If you're using food coloring, add it to the glue and mix well until the color is evenly distributed.
- Slowly pour the borax solution into the glue mixture, stirring constantly with a spoon or spatula. The mixture will begin to thicken and form into a slime-like consistency.
- Once the slime has formed, use your hands to knead and manipulate it. This will help to fully incorporate the ingredients and create the desired texture.
- If you're adding any glitter, sequins, or other mix-ins, now is the time to do so. Gently fold them into the slime until they are evenly distributed.
- Once your slime is complete, store it in an airtight container or plastic bag. When ready to play, simply take it out and enjoy the satisfying, stretchy, and oozy experience!