Learning how to make a stress ball at home is a fun, budget-friendly craft that creates a practical tool for anxiety relief and hand strengthening. These squishy, moldable balls provide satisfying sensory feedback when squeezed, helping reduce tension and improve focus.
This simple DIY project uses common household items and takes less than 10 minutes to complete. Perfect for kids, adults managing stress, or anyone who needs something to fidget with during meetings or study sessions.
💚 Why You’ll Love Making Your Own Stress Ball ?
Homemade stress balls offer incredible benefits beyond just saving money. You control the firmness by choosing different fillings, customize colors and sizes to your preference, and create multiple balls for different moods.
The squeezing motion helps release pent-up energy, improves hand strength and dexterity, and provides a calming sensory experience. Making stress balls is also a fantastic group activity for classrooms, birthday parties, or family craft nights. Kids especially love creating personalized stress relievers they can squeeze whenever they feel overwhelmed.
These DIY stress balls are completely reusable and last for months with proper care. Unlike store-bought versions that can be expensive, your homemade version costs pennies to make. You can experiment with different textures and fillings to find what feels best in your hands. The process itself is therapeutic kneading and shaping the materials provides immediate stress relief even before you finish the project.
🥘 Materials Needed
- Balloons (regular party balloons work best, 3-4 per stress ball)
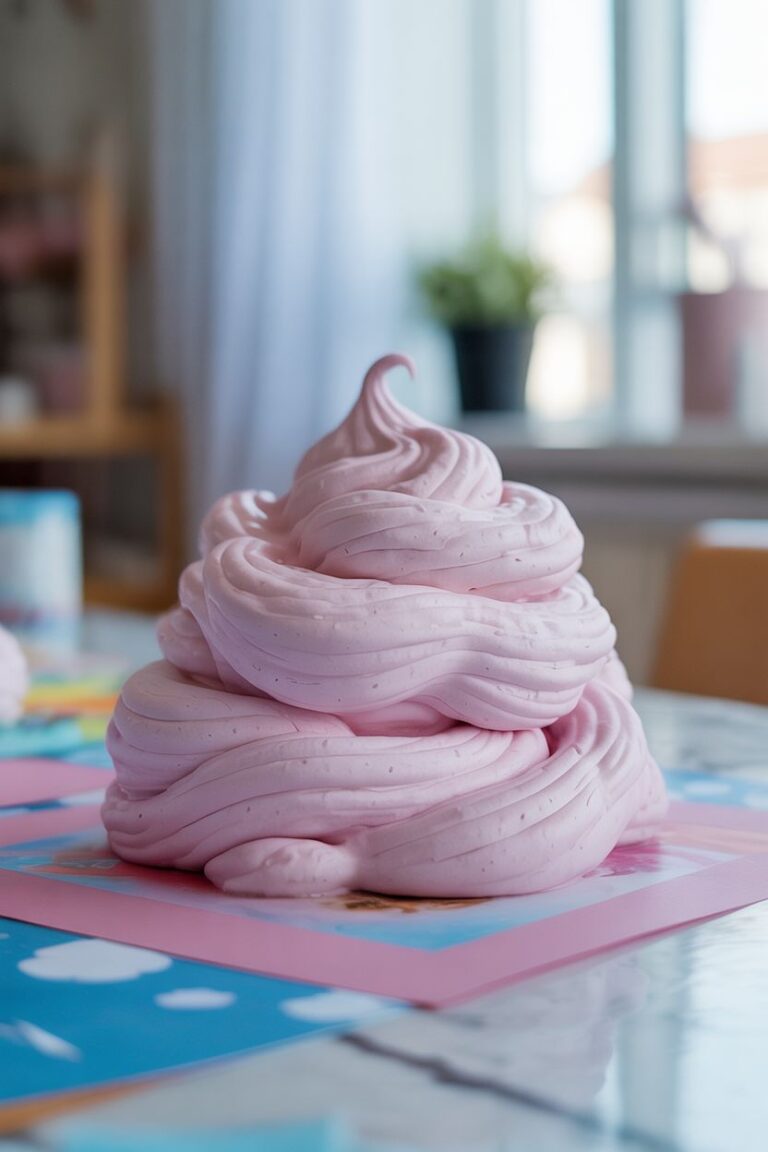
- Filling options: all-purpose flour, cornstarch, rice, play dough, or kinetic sand
- Plastic water bottle or funnel
- Scissors
- Permanent markers for decorating (optional)
- Small bowl for holding filling
🔨 How to Create Your Perfect Stress Ball ?
Step 1: Choose and Prepare Your Filling
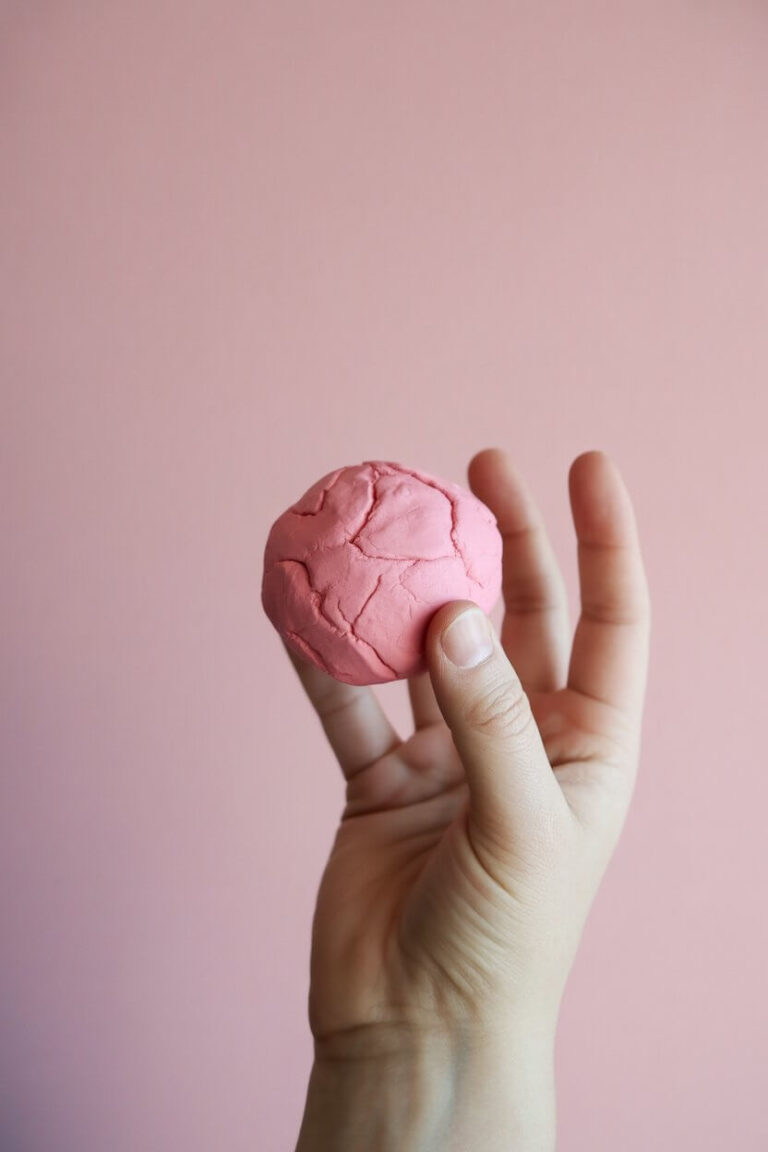
Select your preferred filling material based on desired texture. All-purpose flour creates a soft, moldable stress ball that’s very squishy and easy to shape. Cornstarch makes a firmer, smoother ball with less give. Rice produces a harder stress ball excellent for hand strengthening exercises. Play dough or kinetic sand creates unique textures that feel wonderful to squeeze. Each filling offers different sensory feedback, so experiment to find your favorite.
Measure approximately 1 cup of your chosen filling into a small bowl. This amount creates a medium-sized stress ball perfect for adult hands. For smaller stress balls suited to children’s hands, use about 2/3 cup of filling. Keep extra filling nearby in case you need to add more during assembly.
Step 2: Prepare the Balloon
Blow up one balloon several times to stretch the latex and make it more flexible. This stretching step is crucial because it prevents the balloon from bursting when you fill it. After stretching, let all the air out completely. The balloon should feel looser and easier to work with than a brand-new balloon straight from the package.
Stretch the opening of the balloon wide with your fingers. The wider you can stretch it, the easier the filling process becomes. If using a water bottle method, stretch the balloon opening over the mouth of an empty plastic bottle. If using a funnel, stretch the balloon over the narrow end of the funnel instead.
Step 3: Fill the Balloon with Your Chosen Material
For the bottle method, pour your filling into the empty plastic bottle using a spoon or small measuring cup. Squeeze the bottle gently to push the filling up into the balloon. Tap the bottle on a table to help the material flow down into the balloon. This method works especially well for flour and cornstarch because they flow smoothly through the bottle opening.
For the funnel method, hold the funnel upright with the balloon attached to the bottom. Pour filling into the wide funnel opening. Use a pencil, chopstick, or thin dowel to push the material down through the funnel into the balloon. This method works better for rice or other materials that don’t flow as easily.
Continue adding filling until the balloon is firm but still squeezable. You want it full enough to hold its shape but not so tight that it’s hard as a rock. The perfect stress ball should give under pressure and slowly return to its original shape when released.
Step 4: Remove Air and Seal the Balloon
Once filled to your satisfaction, carefully remove the balloon from the bottle or funnel. Pinch the neck of the balloon near the filling to prevent any from escaping. Let any trapped air escape by gently squeezing the balloon while keeping the opening pointed away from your face. Air pockets can make the stress ball feel less smooth and may cause the balloon to pop more easily.
Tie a tight knot in the balloon neck as close to the filling as possible. This keeps the stress ball compact and prevents the filling from shifting into the neck area. Double-knot for extra security. Use scissors to trim away excess balloon material above the knot, leaving about 1/2 inch of material.
Step 5: Add Protective Outer Layers
Take a second balloon in a different color and cut off the neck portion completely with scissors. Stretch this balloon and pull it over your filled stress ball, covering the knotted end. This second layer adds durability and prevents catastrophic messes if the inner balloon breaks. The contrasting color also creates a fun, professional-looking finish.
For maximum durability, add a third balloon layer using the same method. Three layers provide excellent protection and ensure your stress ball lasts for many months of regular use. Each additional layer also changes the texture slightly, making the ball firmer and less likely to develop weak spots.
Step 6: Decorate Your Stress Ball
Use permanent markers to draw faces, patterns, or designs on the outer balloon. Get creative with emoji faces, geometric patterns, or motivational words. Let kids personalize their stress balls with their names or favorite colors. The decorations make each stress ball unique and add personality to this simple craft.
Allow any marker ink to dry completely for at least 30 minutes before using your stress ball. This prevents smudging and ensures the designs stay vibrant. Your custom stress ball is now ready to squeeze whenever you need a moment of calm.
🎨 Creative Variations to Try
- Glitter Stress Ball: Mix glitter into flour or add it to clear play dough for sparkly effects.
- Scented Version: Add a few drops of essential oil to flour-based filling for aromatherapy benefits.
- Marble Effect: Use multiple balloon colors for the outer layers, cutting strategic holes to reveal colors beneath.
- Textured Surface: Before adding final balloon layer, sprinkle small beads or rice on the tacky surface for bumpy texture.
- Glow in the Dark: Use glow-in-the-dark paint on outer balloon or mix glow powder into filling.
📝 Important Making Tips
Always work over a tray or newspaper because spills happen even to experienced crafters. Keep baby wipes or damp cloth nearby for quick cleanup. If a balloon pops during filling, don’t panic just start over with a fresh balloon. Store finished stress balls away from sharp objects and direct sunlight to prevent premature deterioration. Latex balloons naturally break down over time, so expect to remake stress balls every 6-12 months with regular use.
For cleaner filling, place filling material into a zip-top bag first, cut a tiny corner off the bag, then squeeze filling directly into the balloon like a piping bag. This method dramatically reduces mess and works brilliantly for flour-based stress balls. Check stress balls regularly for small tears or weak spots, replacing outer balloon layers as needed to prevent catastrophic failures.
💡 Troubleshooting Common Problems
- Balloon keeps popping: Stretch balloons more before filling or use thicker balloons.
- Filling too hard: Add less filling or switch to softer material like flour.
- Ball feels lumpy: Knead and squeeze to distribute filling evenly.
- Difficult to tie knot: Use a small twist-tie temporarily, then replace with knot.
- Material leaking out: Add more balloon layers or ensure knots are very tight.
⏱️ Project Timeline
- Prep Time: 3 minutes
- Assembly Time: 7 minutes
- Drying Time: 30 minutes (for decorated versions)
- Total Time: 10-40 minutes
🎯 Uses for Your DIY Stress Ball
Squeeze during stressful moments at work or school. Use while watching TV for passive stress relief. Build hand and finger strength through regular exercise.
Help children manage big emotions and anxiety. Provide sensory stimulation for individuals with ADHD or autism. Improve focus during long meetings or study sessions. Physical therapy tool for hand injury recovery.
❓ Frequently Asked Questions
How long do homemade stress balls last?
With proper care, 6-12 months. Multiple balloon layers extend lifespan significantly.
What happens if it pops?
That’s why we use multiple layers! The filling stays mostly contained. Clean immediately with vacuum or damp cloth.
Can I wash my stress ball?
Wipe outer surface with damp cloth only. Never submerge in water as moisture breaks down latex.
Is this safe for young children?
With supervision, yes. Children under 3 should not use due to choking hazard if ball ruptures.
Best filling for firm stress ball?
Rice or cornstarch creates firmest texture for hand strengthening exercises.
🎉 Conclusion
Making stress balls at home transforms simple materials into powerful tools for managing anxiety and improving focus. This easy craft costs almost nothing, takes minutes to complete, and provides lasting stress relief. Create several in different sizes and firmness levels to match various moods and needs.
Start making your personalized stress ball today and discover immediate benefits for your mental wellbeing.