If you’ve ever clipped on the leash feeling hopeful, only to spot another dog and instantly think, “Oh no… here we go,” you’re not alone. Reactivity can turn a simple potty break into a stressful event where you’re bracing for barking, lunging, spinning, or that high-pitched whining that makes you feel like everyone is watching.
These reactive dog training tips are designed for real life: sidewalks, elevators, narrow paths, surprise dogs around corners, and neighbors who love to stroll slowly right toward you. The goal isn’t a “perfect” dog overnight—it’s a dog who feels safer and can make better choices.
In this guide, you’ll learn how to identify triggers, lower arousal, and teach calm behaviors using positive reinforcement. You’ll also get step-by-step games you can practice on everyday walks, plus troubleshooting for the moments when plans fall apart. 🐕🦺
💡 Why This Matters ?
Reactivity usually comes from big feelings—fear, frustration, over-excitement, or past experiences. When those feelings spill over, your dog’s brain goes into “survival mode,” and learning shuts down. The good news is that with the right setup and consistent practice, you can change what your dog expects to happen around triggers.
These training changes matter because they improve safety and quality of life for both of you. Your dog gets clearer guidance and predictable outcomes. You get fewer embarrassing moments, fewer sore shoulders, and more enjoyable walks.
It also helps you avoid common spirals like trigger stacking (when multiple stressors build up) and accidental reinforcement (like dragging your dog away right after they explode).
With realistic expectations, many dogs show noticeable improvement in 2–6 weeks, and bigger, reliable changes often take 3–6 months depending on severity. 💡
🧠 Section 1: Reactive dog training tips to understand triggers
Reactivity is not “bad behavior,” it’s communication. Your dog is telling you they’re over threshold—meaning the trigger is too close or too intense for their current coping skills.
Start by identifying your dog’s top triggers. Common ones include unfamiliar dogs, joggers, scooters, loud trucks, kids, or dogs behind fences.
A simple way to spot the threshold is to watch your dog’s body language. If they can still sniff, take food, and respond to their name, they’re likely under threshold.
Practical signals your dog is nearing threshold:
- Hard staring or freezing before the outburst
- Mouth closes, breathing changes, weight shifts forward
- Taking treats more roughly or refusing food
- “Scanning” rapidly like they’re on high alert
Now set yourself up for success by controlling distance and predictability. The number one skill in early reactivity work is protecting enough distance so your dog can learn.
Practical tips you can use today:
- Choose wider routes and cross the street early instead of waiting “to see what happens.”
- Walk during quieter times for a week or two to lower overall stress.
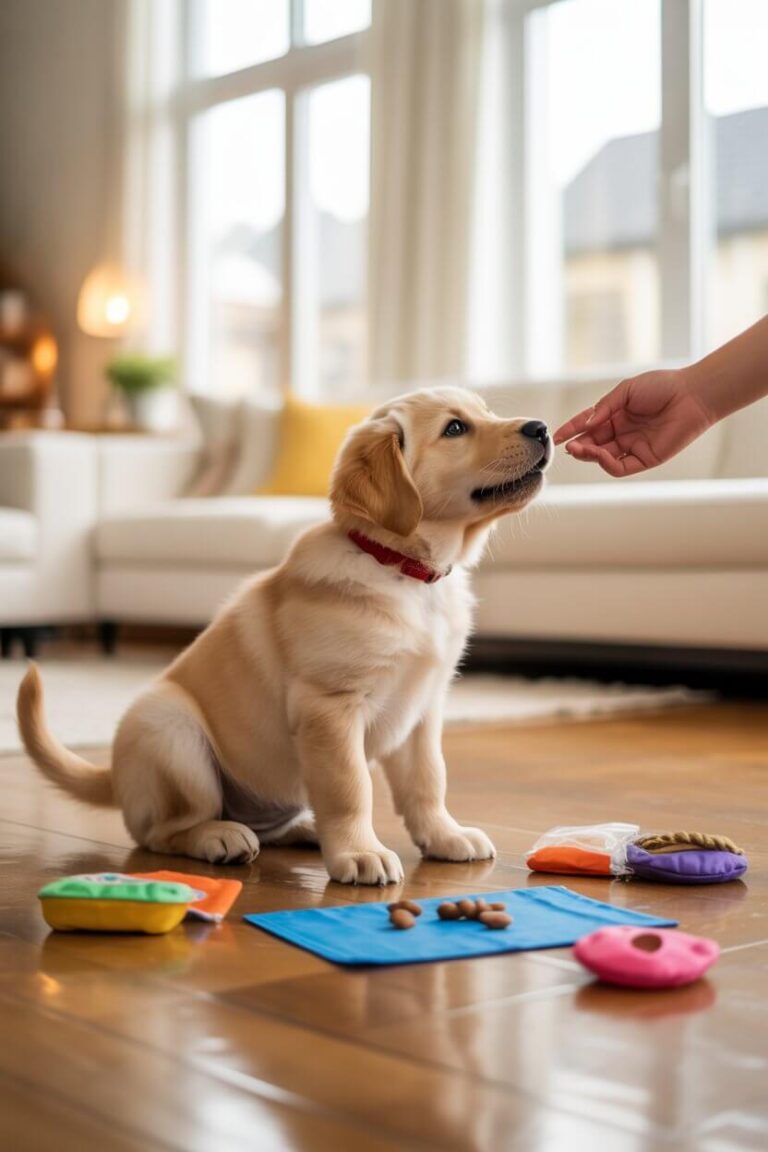
- Bring high-value food (chicken, cheese, or a squeeze tube) reserved only for triggers.
Puppies vs adult dogs: puppies often react due to excitement and low impulse control, while adult dogs may have more practiced patterns. Puppies can improve quickly with short, fun sessions, while adult dogs may need more repetition and careful trigger management.
🎓 Section 2: Reactive dog training tips with step-by-step walk games
The core method is counterconditioning: trigger appears → amazing things happen → feelings shift over time. Pair that with desensitization: work at a low enough intensity that your dog can stay calm and learn.
Here are step-by-step games to use on walks.
- Pick a trigger at a safe distance
- The moment your dog notices it, mark with a cheerful “Yes!” or a click
- Feed 3–5 treats in a row, then stop when the trigger is gone
- Repeat across multiple short exposures
This is the classic “Look at That” (LAT) pattern. Your dog learns: “Seeing dogs makes snacks happen.”
Add an “Engage–Disengage” progression:
- Dog looks at trigger
- You mark and feed
- Over time, dog starts looking back at you faster
- You mark the look back and reward again
Helpful equipment recommendations:
- A front-clip harness to reduce pulling leverage
- A 6-foot leash (avoid retractable leashes for reactivity work)
- Treat pouch and high-value treats
- Optional basket muzzle (for safety) conditioned slowly and positively
Common mistakes to avoid:
- Getting closer to “test” your dog when things seem better
- Tightening the leash and holding your breath (dogs feel tension fast)
- Waiting until your dog is already barking to start rewarding
- Using punishment (it can suppress warning signs and increase fear)
Safety note: If your dog has a bite history or you’re unsure, work with a qualified trainer and consider muzzle conditioning. Your goal is calm learning, not “white-knuckle” exposure.
🏆 Section 3: Reactive dog training tips for real-world progress (plus troubleshooting)
Once you can do LAT at a distance, start adding real-life complexity in tiny steps. Think “same skill, slightly harder environment.”
Advanced strategies that work well:
- Practice near triggers moving away first (easier than approaching)
- Use parked cars, hedges, or driveways as visual barriers
- Teach a cue like
Find it(scatter treats on the ground) for quick decompression
Success indicators you’re improving:
- Your dog notices the trigger and quickly reorients to you
- Shorter recovery time after surprises
- Softer body language: looser tail, open mouth, more sniffing
- You can pass at a slightly closer distance without escalation
⚠️ Troubleshooting common issues
If your dog won’t take treats, you’re likely too close or your reinforcer isn’t valuable enough. Increase distance and upgrade rewards.
If surprise dogs keep appearing, switch to “pattern walking.” Do short loops with escape routes, and reward frequent check-ins so your dog stays connected.
If your dog explodes anyway, don’t panic. Use an emergency U-turn and feed as you leave.
Quick reset plan:
- Say “This way!” and turn smoothly
- Move behind a car or around a corner
- Scatter treats to lower arousal
- End the session if stress stays high
Puppies: keep sessions 3–5 minutes and end on a win. Adult dogs: aim for consistency and fewer surprise exposures, even if that means fewer walks but higher-quality ones.
🎥 Video Resource Section
❓ Common Questions
Q: Is reactivity the same as aggression? 🐕
A: Not always. Many reactive dogs are fearful or frustrated, not intending to harm—though lunging can still be dangerous.
Q: Should I make my dog “face their fears”? ⚠️
A: No. Flooding often makes reactions worse. Use gradual exposure with positive reinforcement.
Q: How long until these reactive dog training tips work? ⏳
A: Many owners see early improvements in 2–6 weeks. Reliable behavior around major triggers can take 3–6 months.
Q: Can I still socialize my puppy if they’re reactive? ✅
A: Yes, but choose controlled setups: calm dogs, distance, short sessions, and lots of rewards.
🎉 Conclusion & Next Steps
Reactive dog training tips work best when you focus on two things: keeping enough distance for learning and building positive associations with triggers. Start with management (routes, timing, equipment), then practice LAT and Engage–Disengage in short, repeatable sessions.
Your next step is to pick one trigger and train it 3–5 times per week for 5–10 minutes. Track progress like “distance to calm” and recovery time, and celebrate small wins. If you want to level up, add controlled setups with a friend’s calm dog or work with a positive-reinforcement trainer.
You’ve got this. 🏆